AI Sentry: Project Integration
Assembling, wiring, and integrating the autonomous person-tracking laser turret with YOLOv8 computer vision
Demo Video
AI Sentry autonomously detecting and tracking a person with the laser pointer
Project Overview
This week I completed the integration of the AI Sentry - an autonomous person-tracking laser turret. The system uses a XIAO ESP32S3 Sense with an OV2640 camera that streams video to a MacBook running YOLOv8 for real-time person detection. The laptop calculates aiming adjustments and sends servo control commands back to the ESP32 to track detected targets with a laser pointer.
┌─────────────────────┐        USB Serial         ┌─────────────────────┐
│   XIAO ESP32S3      │◄─────────────────────────►│      MacBook        │
│   Sense             │                           │                     │
│                     │   Request + Commands ───► │  - YOLOv8 (MPS/GPU) │
│   - OV2640 Camera   │                           │  - PD Control       │
│   - Pan/Tilt Servos │   ◄─── JPEG Frame         │  - Target Cycling   │
│   - Laser Module    │                           │  - Live Viz Window  │
└─────────────────────┘                           └─────────────────────┘
Key Features
- •Real-time person detection with YOLOv8
- •Low-latency request-response frame protocol
- •PD control to prevent servo overshoot
- •Multi-target cycling (tracks multiple people)
- •Apple Silicon GPU acceleration (MPS)
Hardware Components
- •XIAO ESP32S3 Sense with OV2640 camera
- •2x Miuzei MG996R all-metal servos
- •5V laser pointer module
- •3D printed pan-tilt platform
- •Custom protoboard wiring
Architecture Pivot: Edge to Laptop Inference
⚠️Original Approach: Native ESP32 Object Recognition
My original plan (documented in Week 1) was to run object detection directly on the ESP32 using Edge Impulse for on-device inference. This would have made the system fully self-contained.
Performance Issues
- • ~1 second per frame processing time
- • Only ~45% detection accuracy
- • Unusable for real-time tracking
- • Targets moved faster than detection
Hardware Limitations
- • ESP32 limited compute power
- • Memory constraints for ML models
- • No GPU acceleration available
- • Model quantization hurt accuracy
✅New Approach: Laptop-Based YOLOv8 Inference
I pivoted to streaming video from the ESP32 to my MacBook via USB serial, running YOLOv8 inference on the laptop with Apple Silicon GPU (MPS) acceleration, then sending control commands back.
Performance Gains
- • 15+ FPS processing speed
- • Much higher detection accuracy
- • Real-time tracking capability
- • Smooth servo movement
Additional Benefits
- • Full YOLOv8 model (no quantization)
- • MPS GPU acceleration on M-series
- • Live visualization window
- • Easy debugging and tuning
3D Model
Complete AI Turret Platform
The fully integrated turret design featuring the pan-tilt mechanism, camera mount, and laser holder. Explore the 3D model to see how all components fit together.
Assembly Process
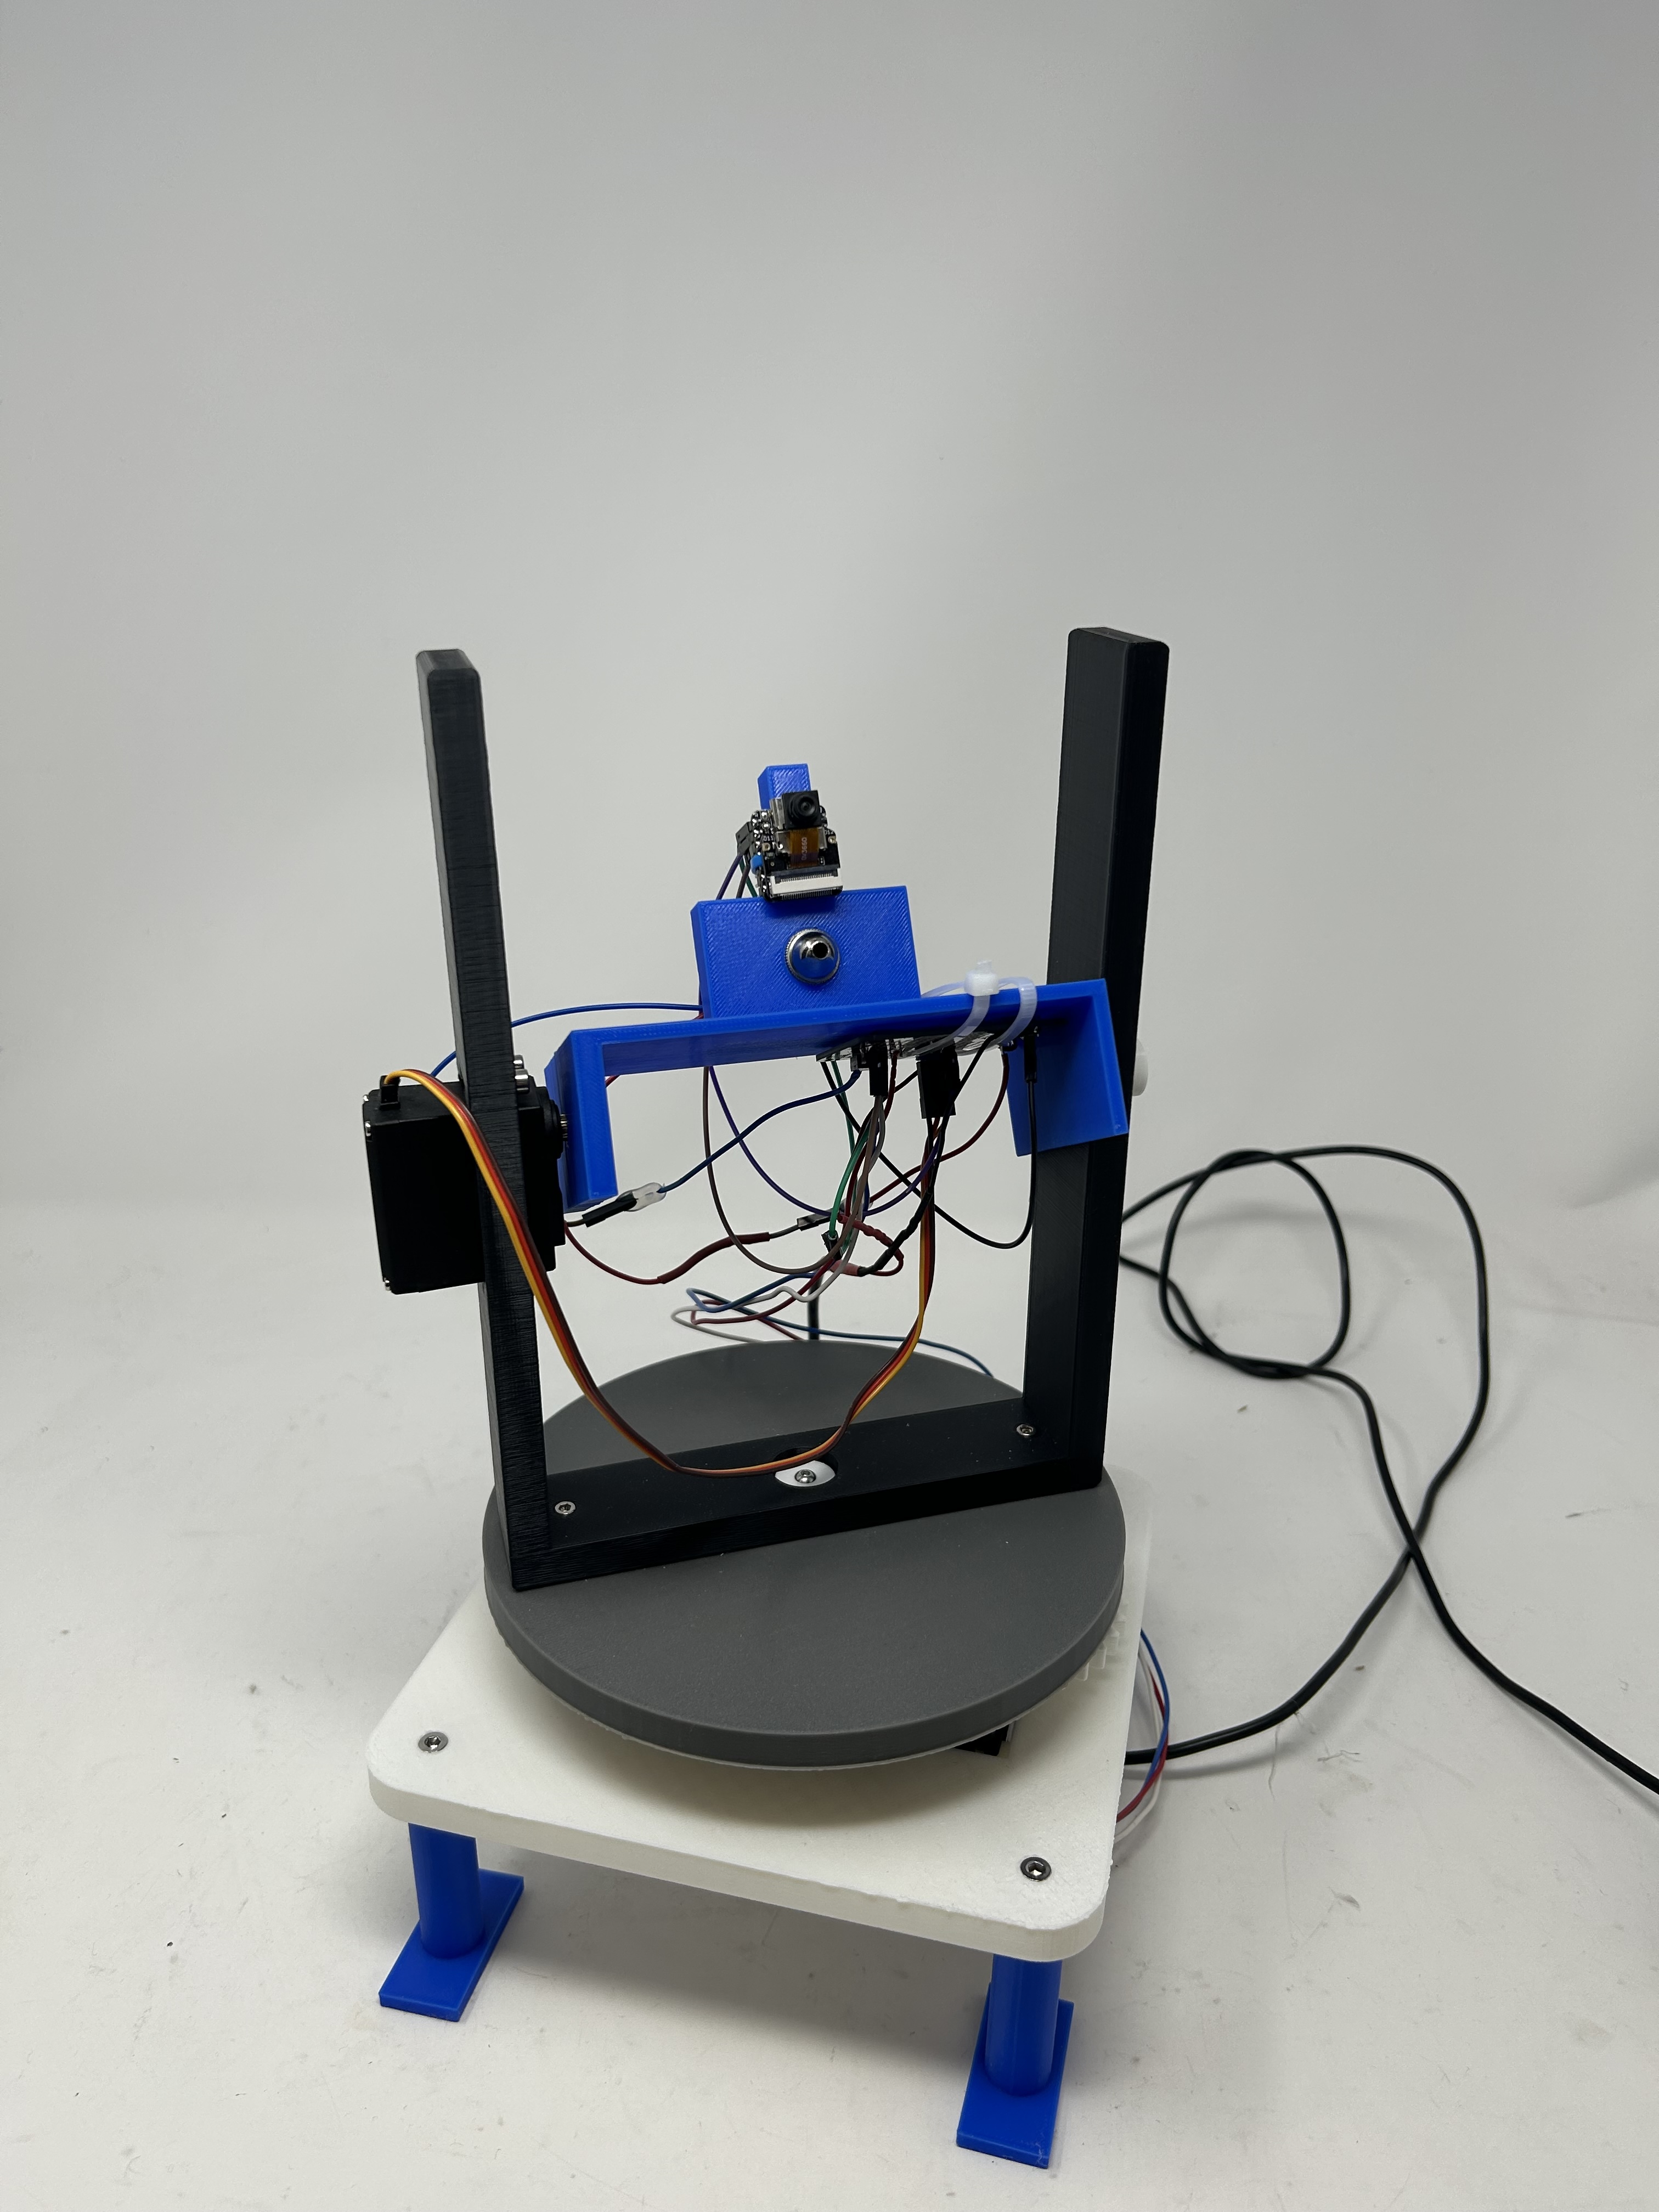
Assembled Turret - Front View
The completed AI Sentry turret featuring the XIAO ESP32S3 Sense with camera mounted on the blue 3D-printed head, the laser pointer module, and pan-tilt servo mechanism on the rotating platform.
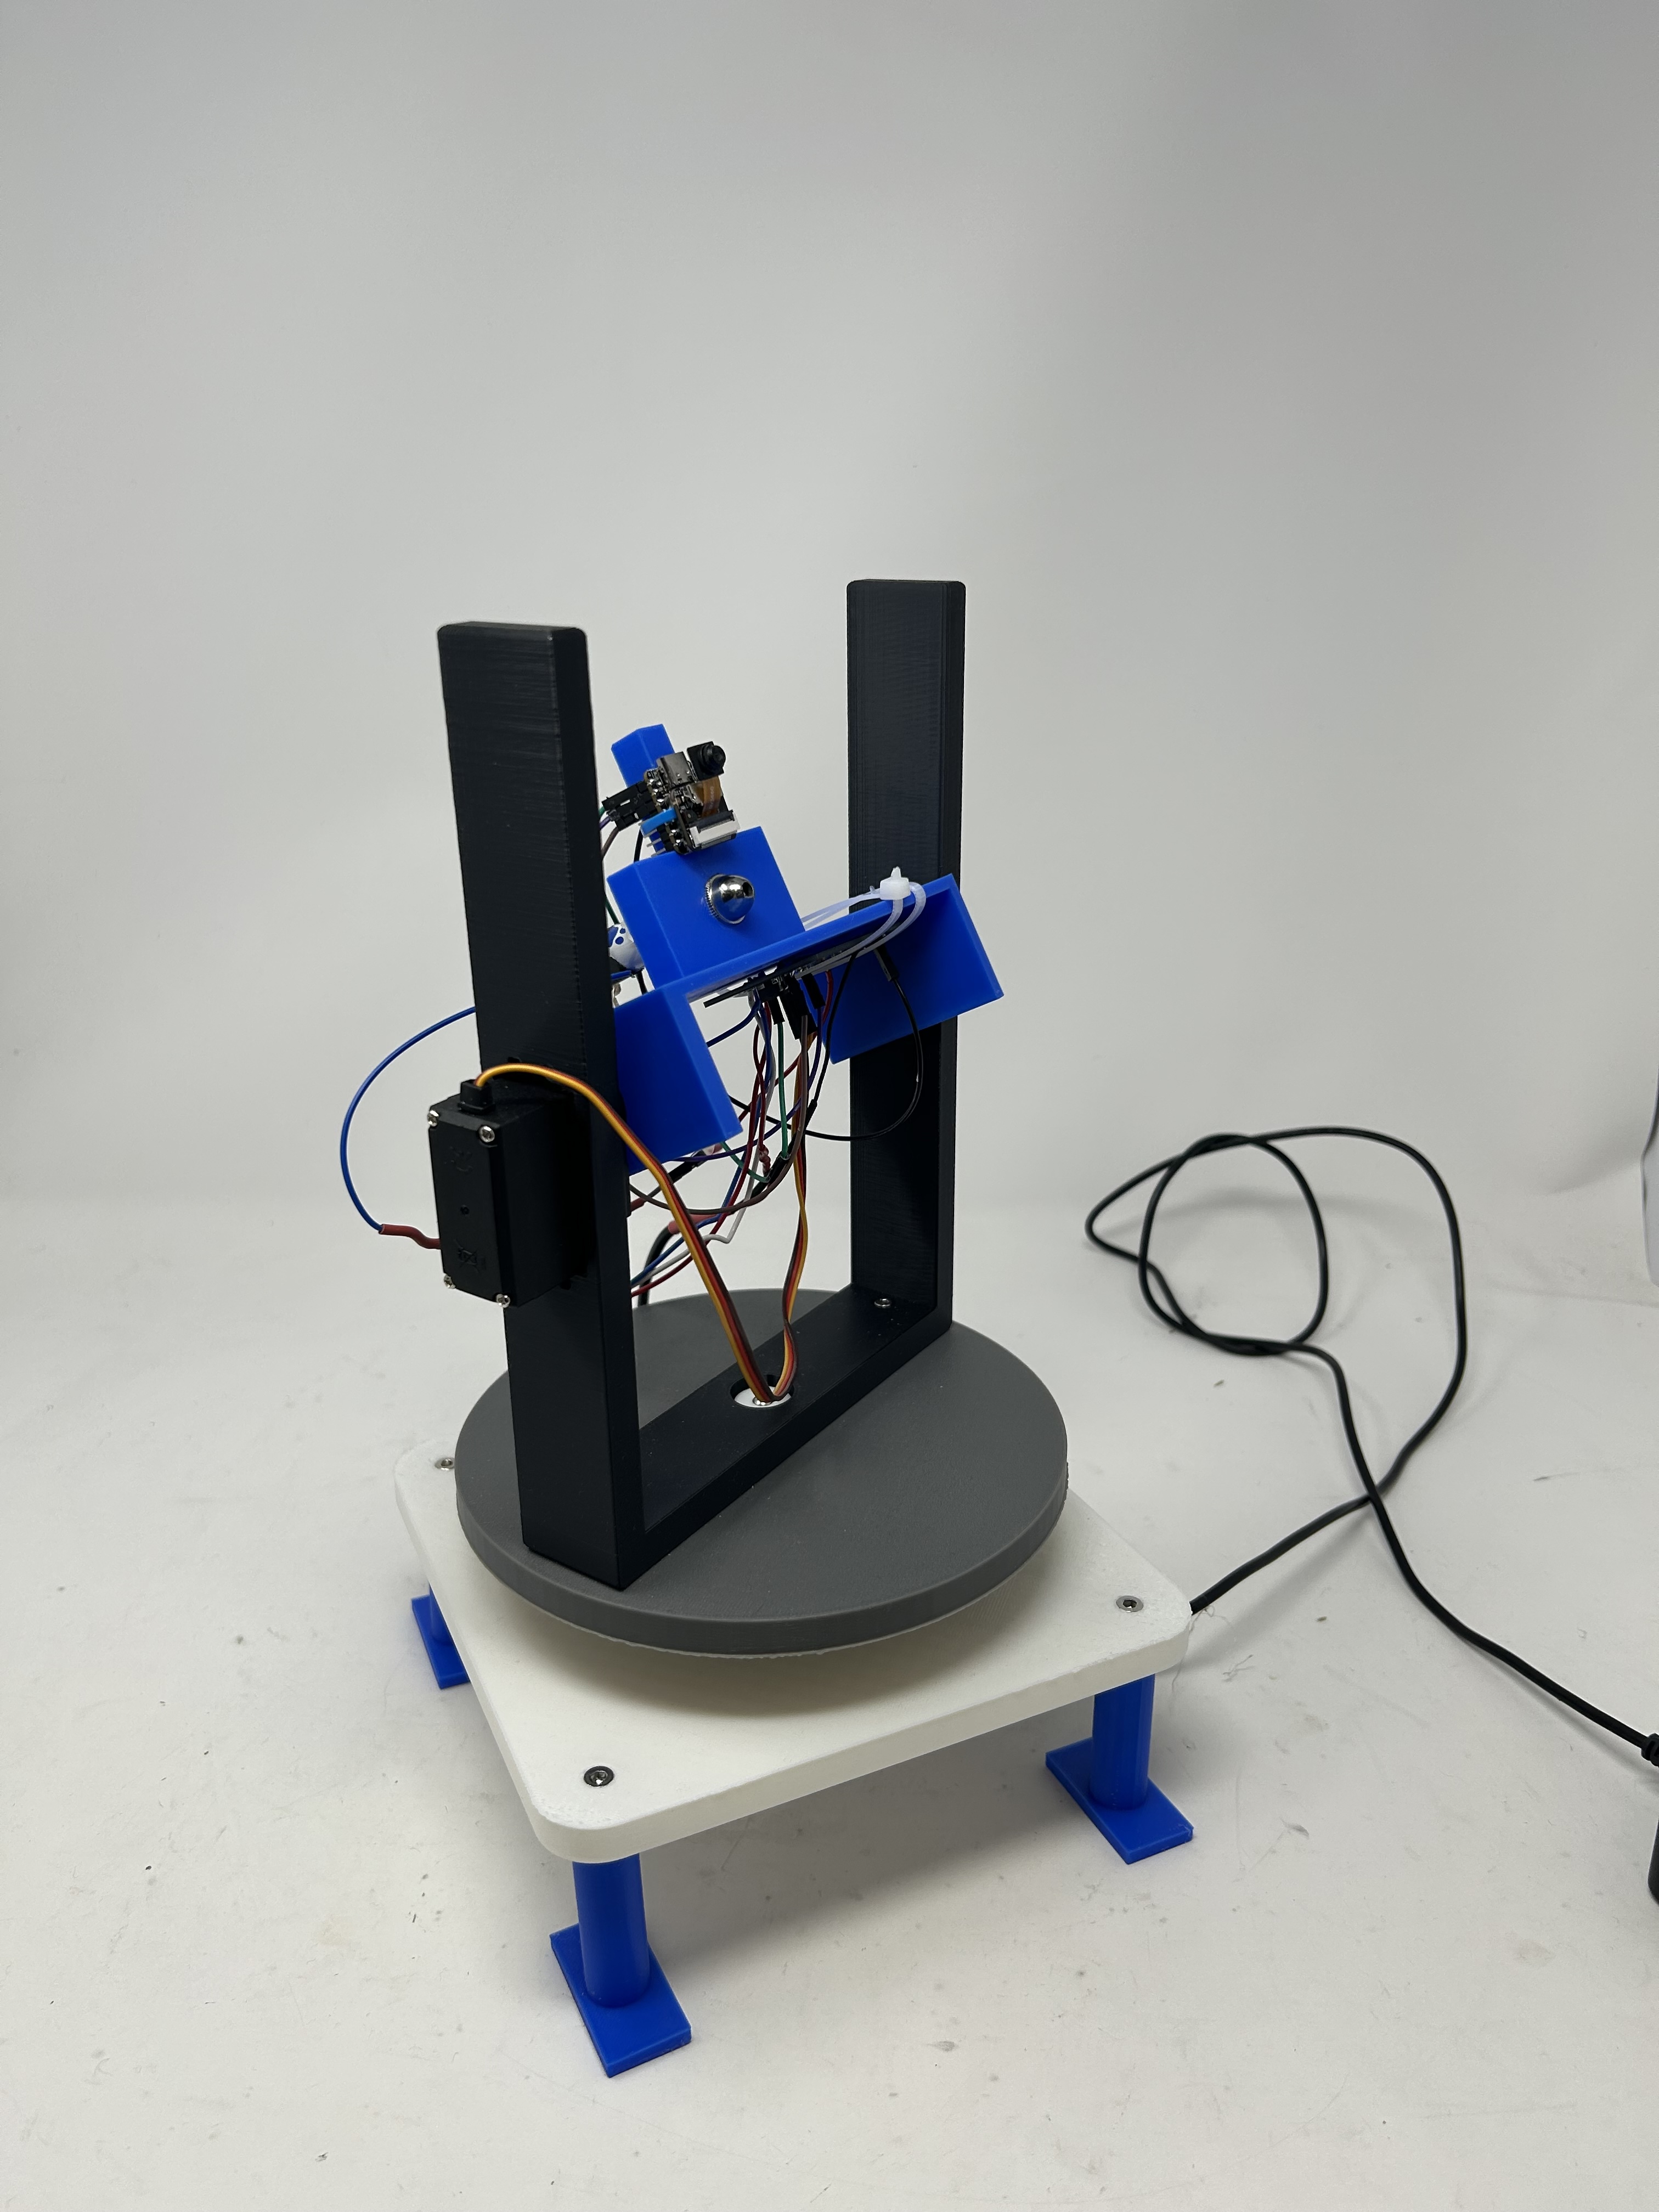
Assembled Turret - Side View
Side perspective showing the tilt servo mechanism that controls vertical aiming, the wiring running through the structure, and the stable base with blue 3D-printed feet.
Breadboard to Protoboard Migration
A critical part of this week was migrating from the temporary breadboard setup to a permanent soldered protoboard. This ensures reliable connections during operation and makes the system more robust and compact.
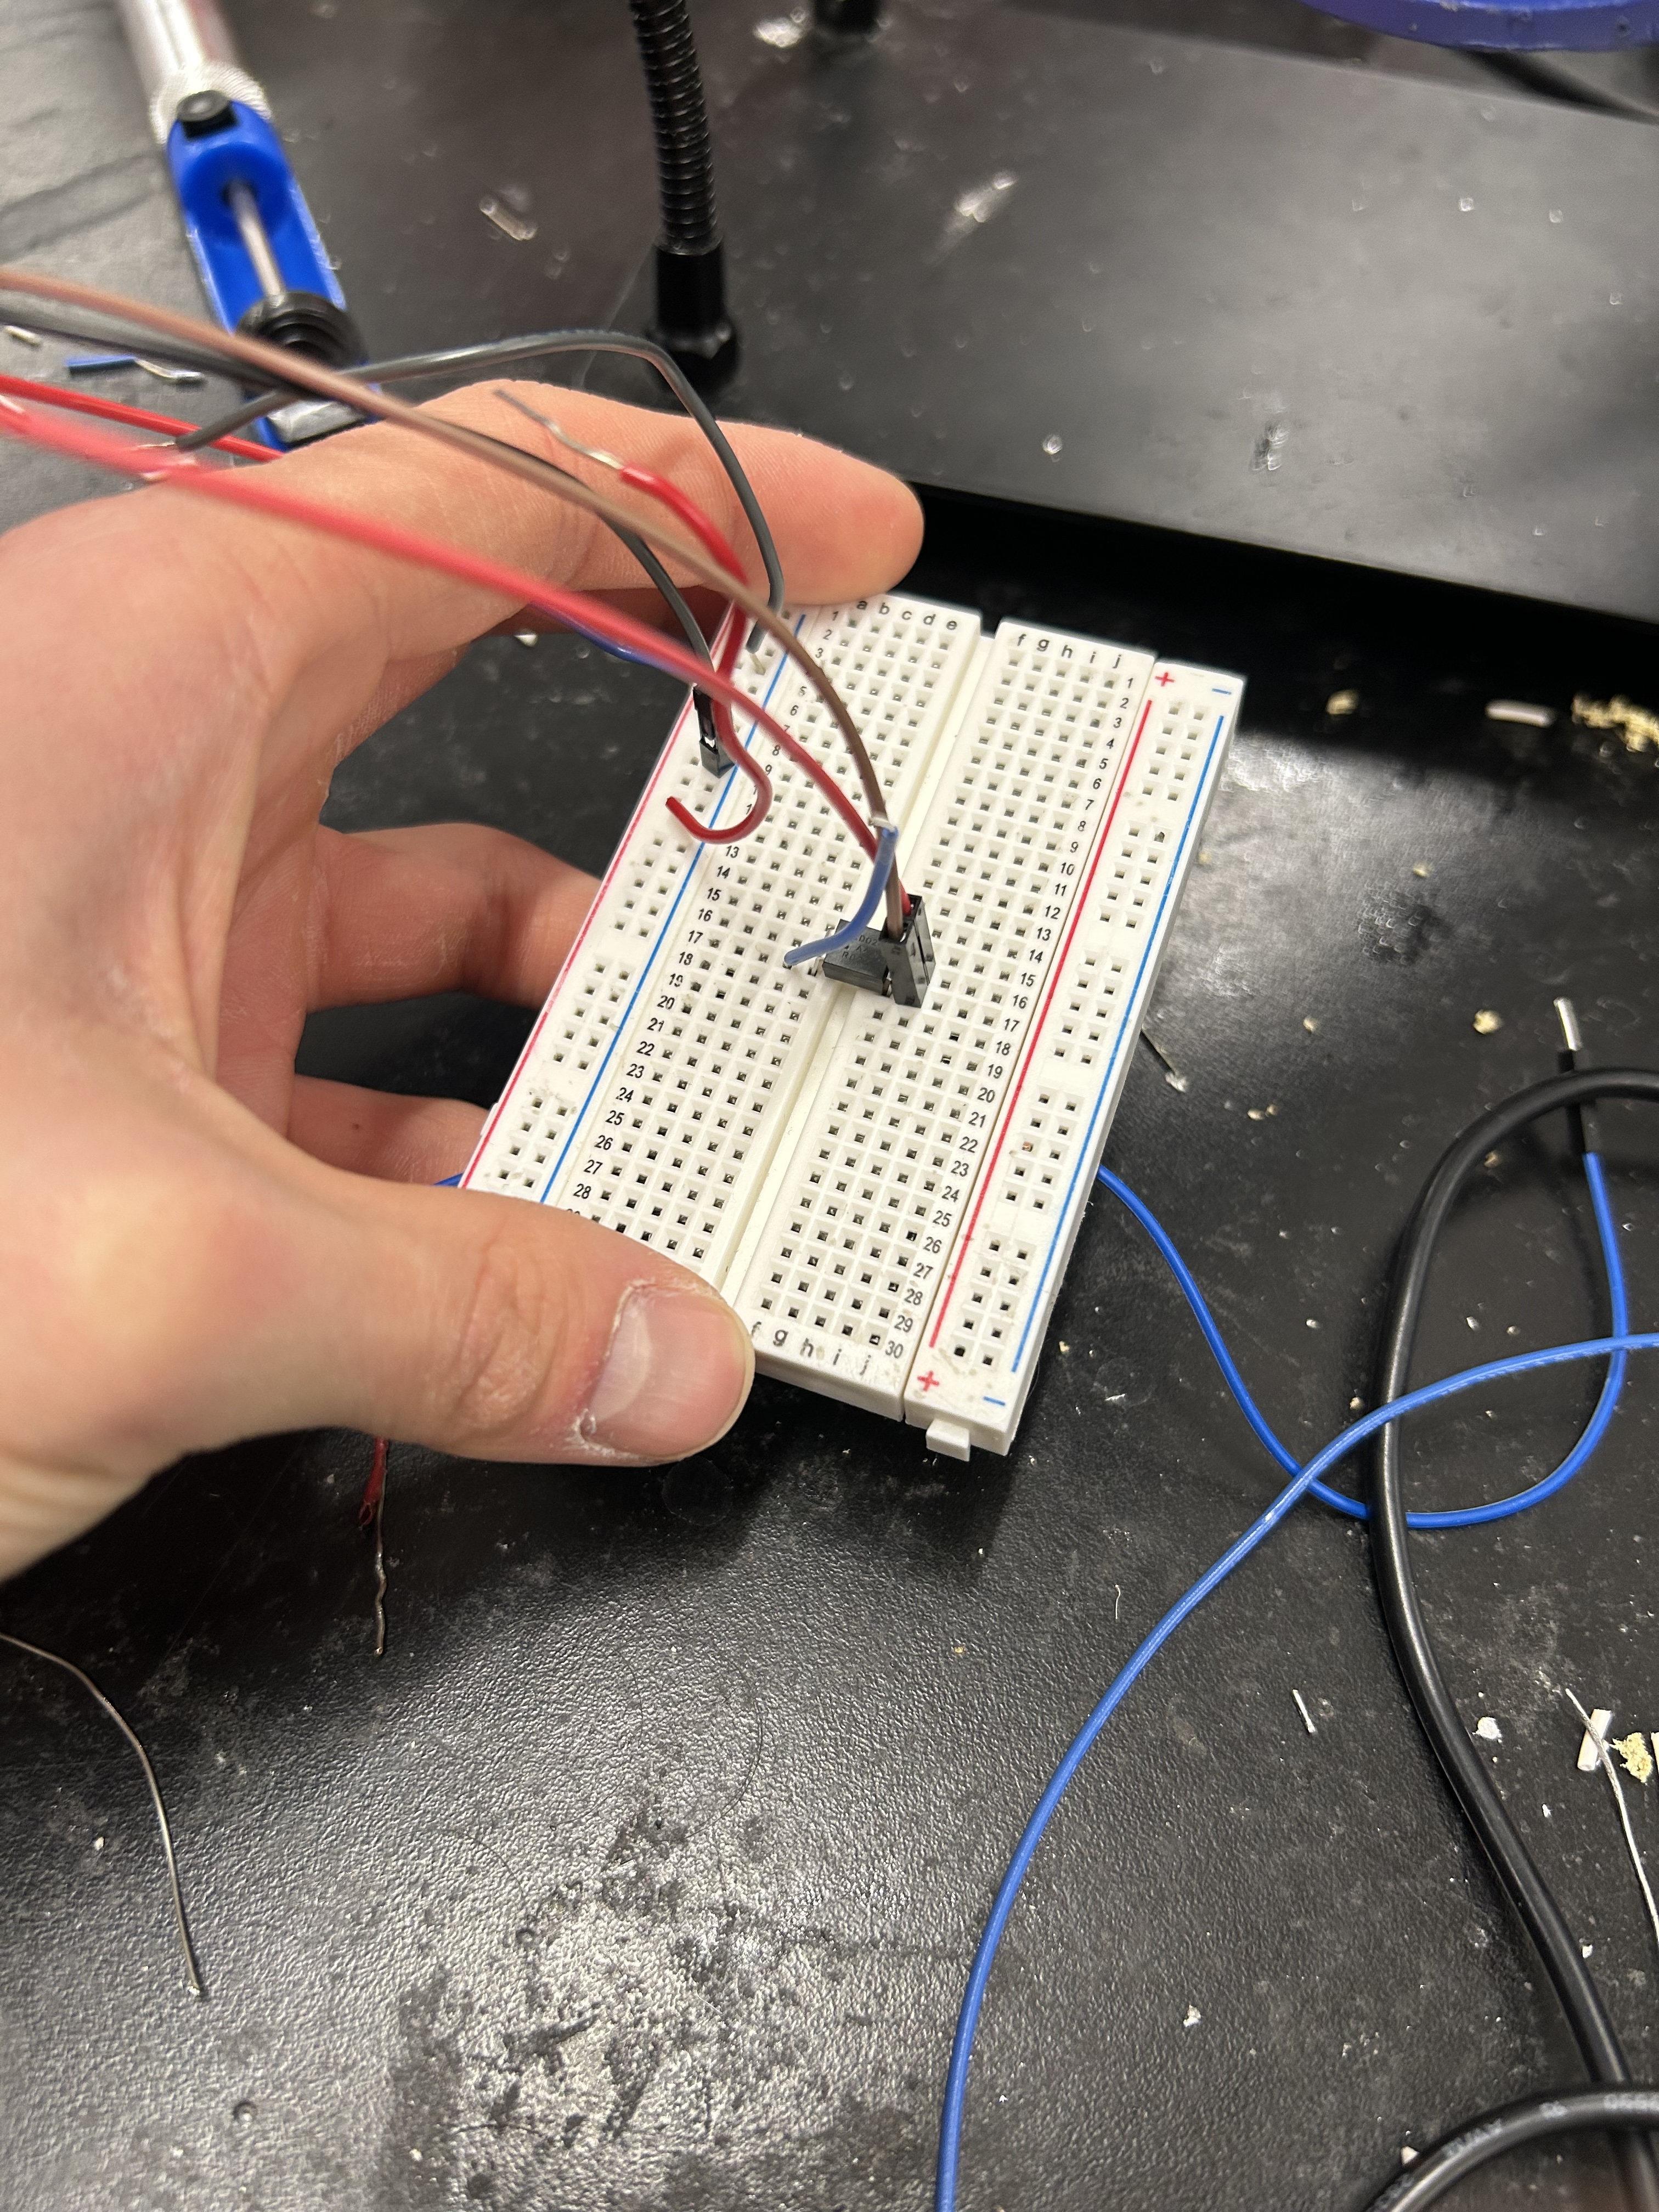
Original breadboard prototype
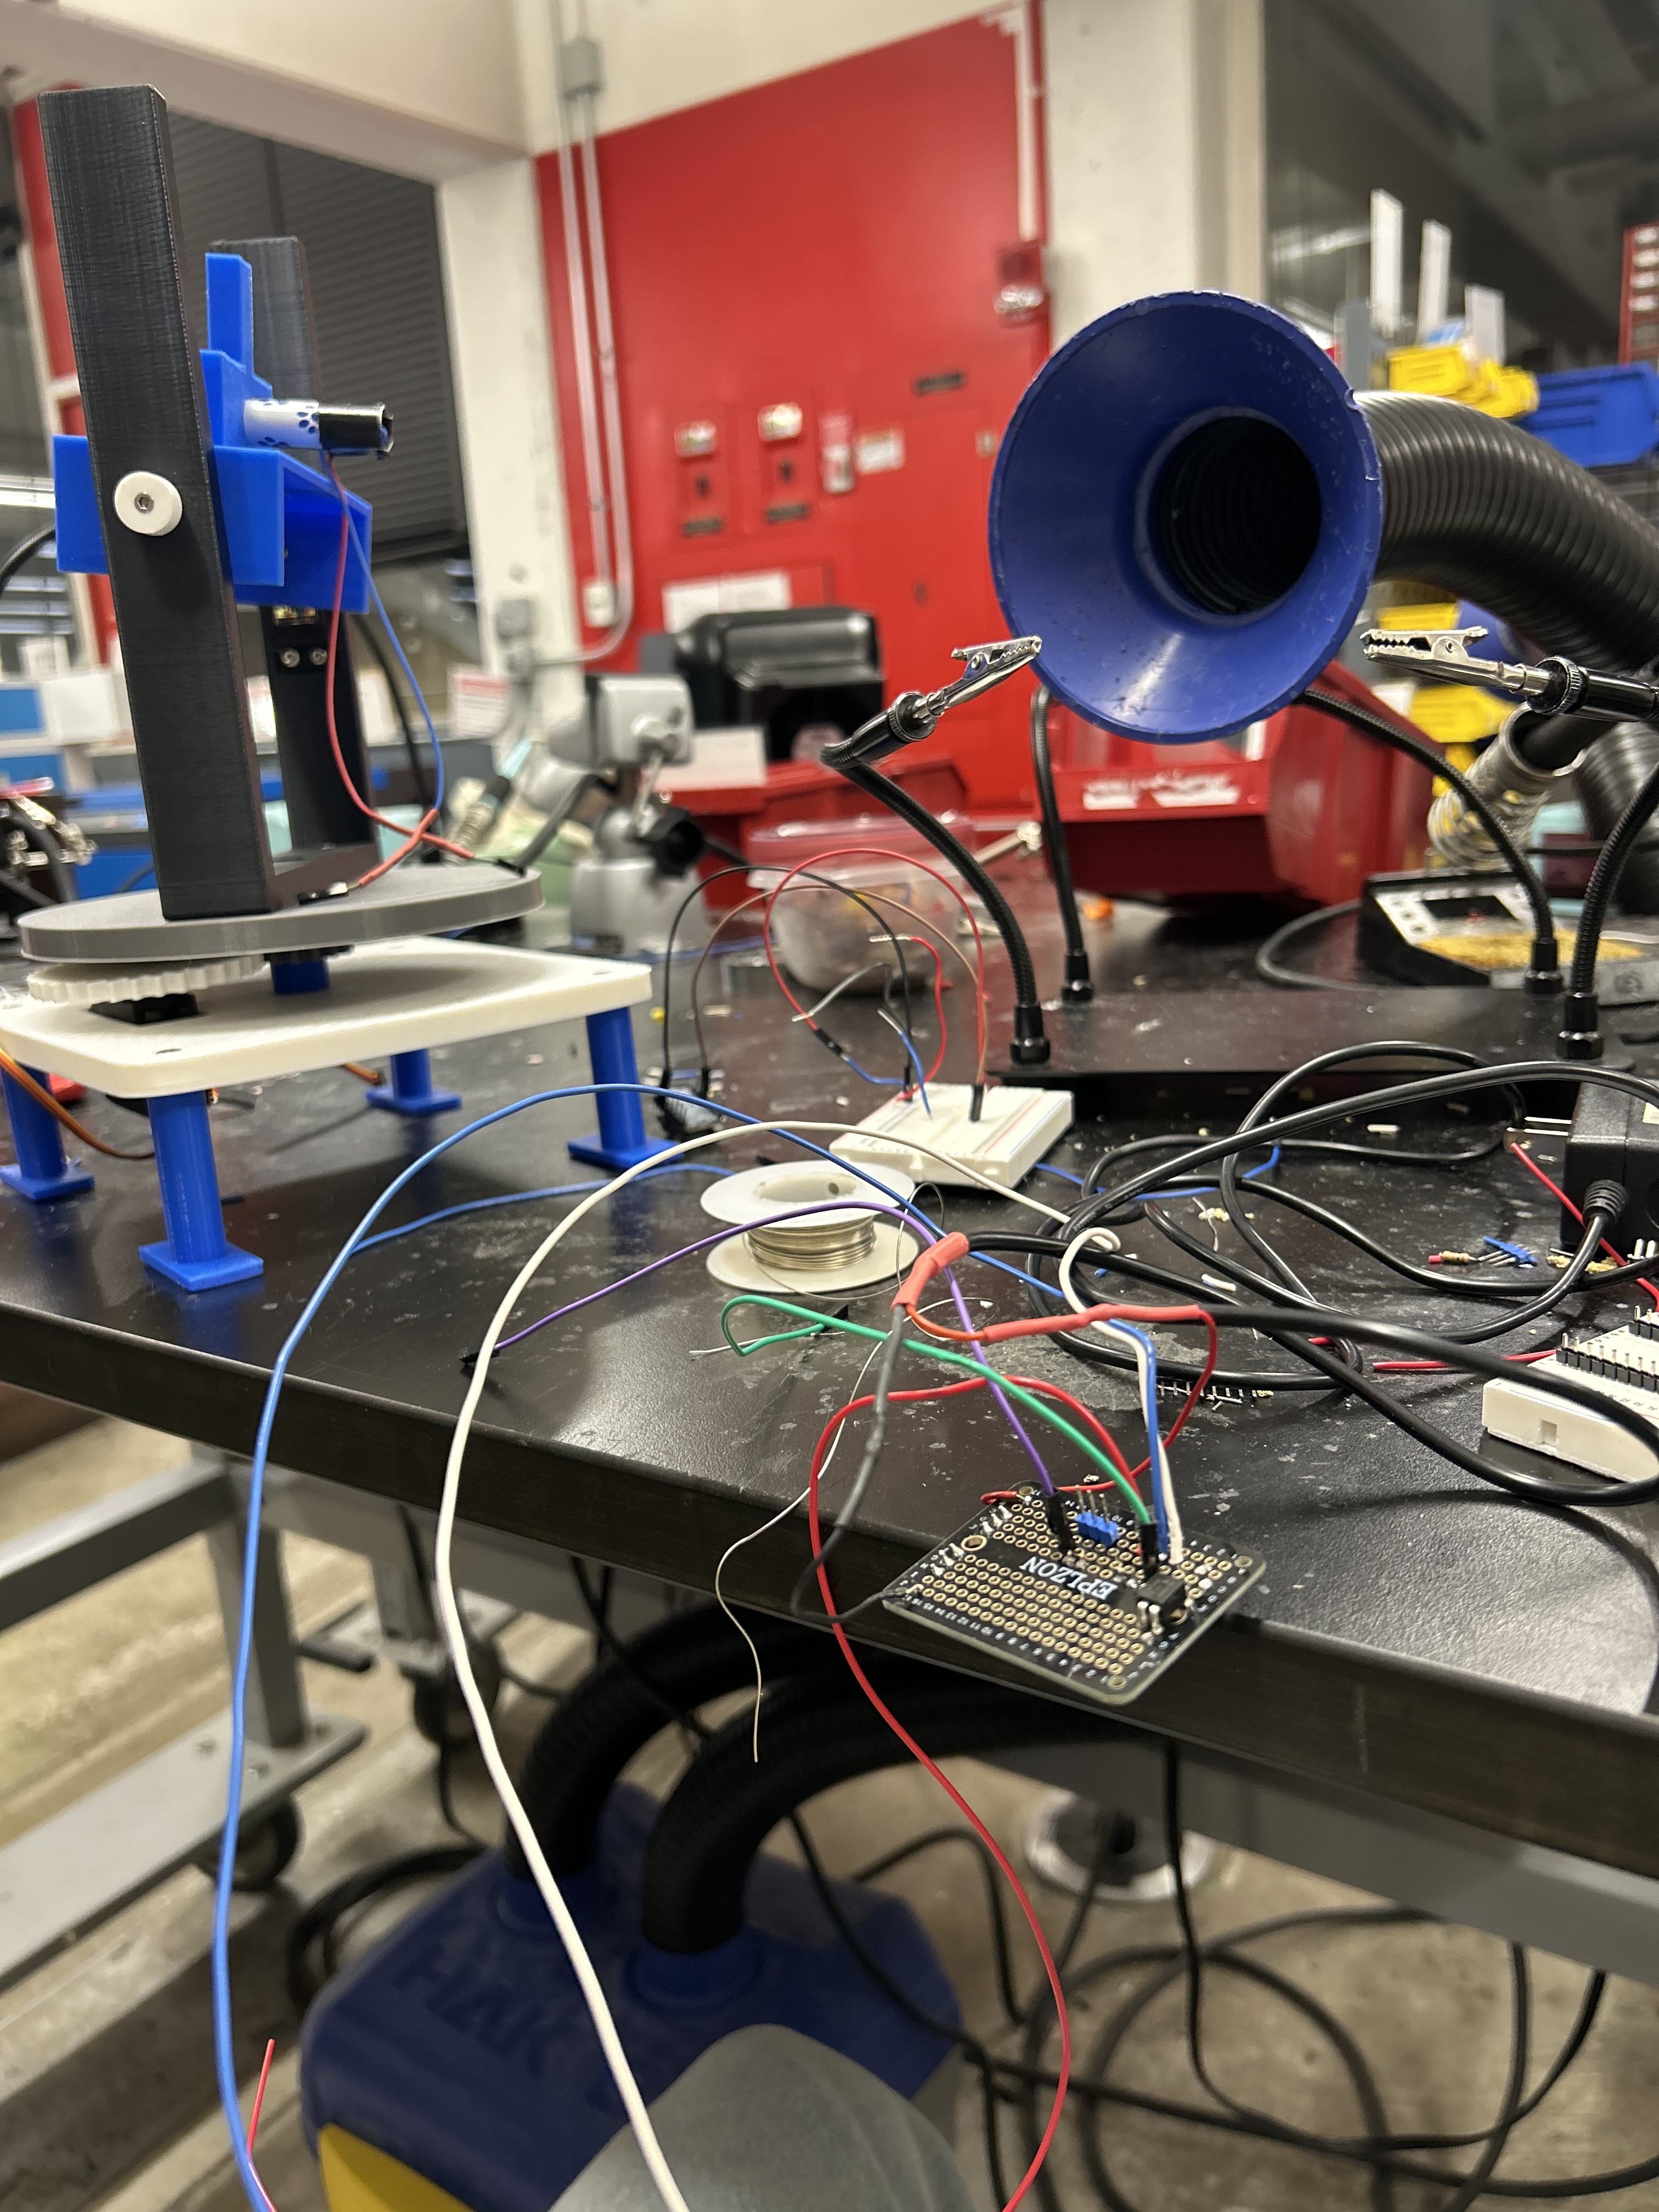
Soldering wires to protoboard
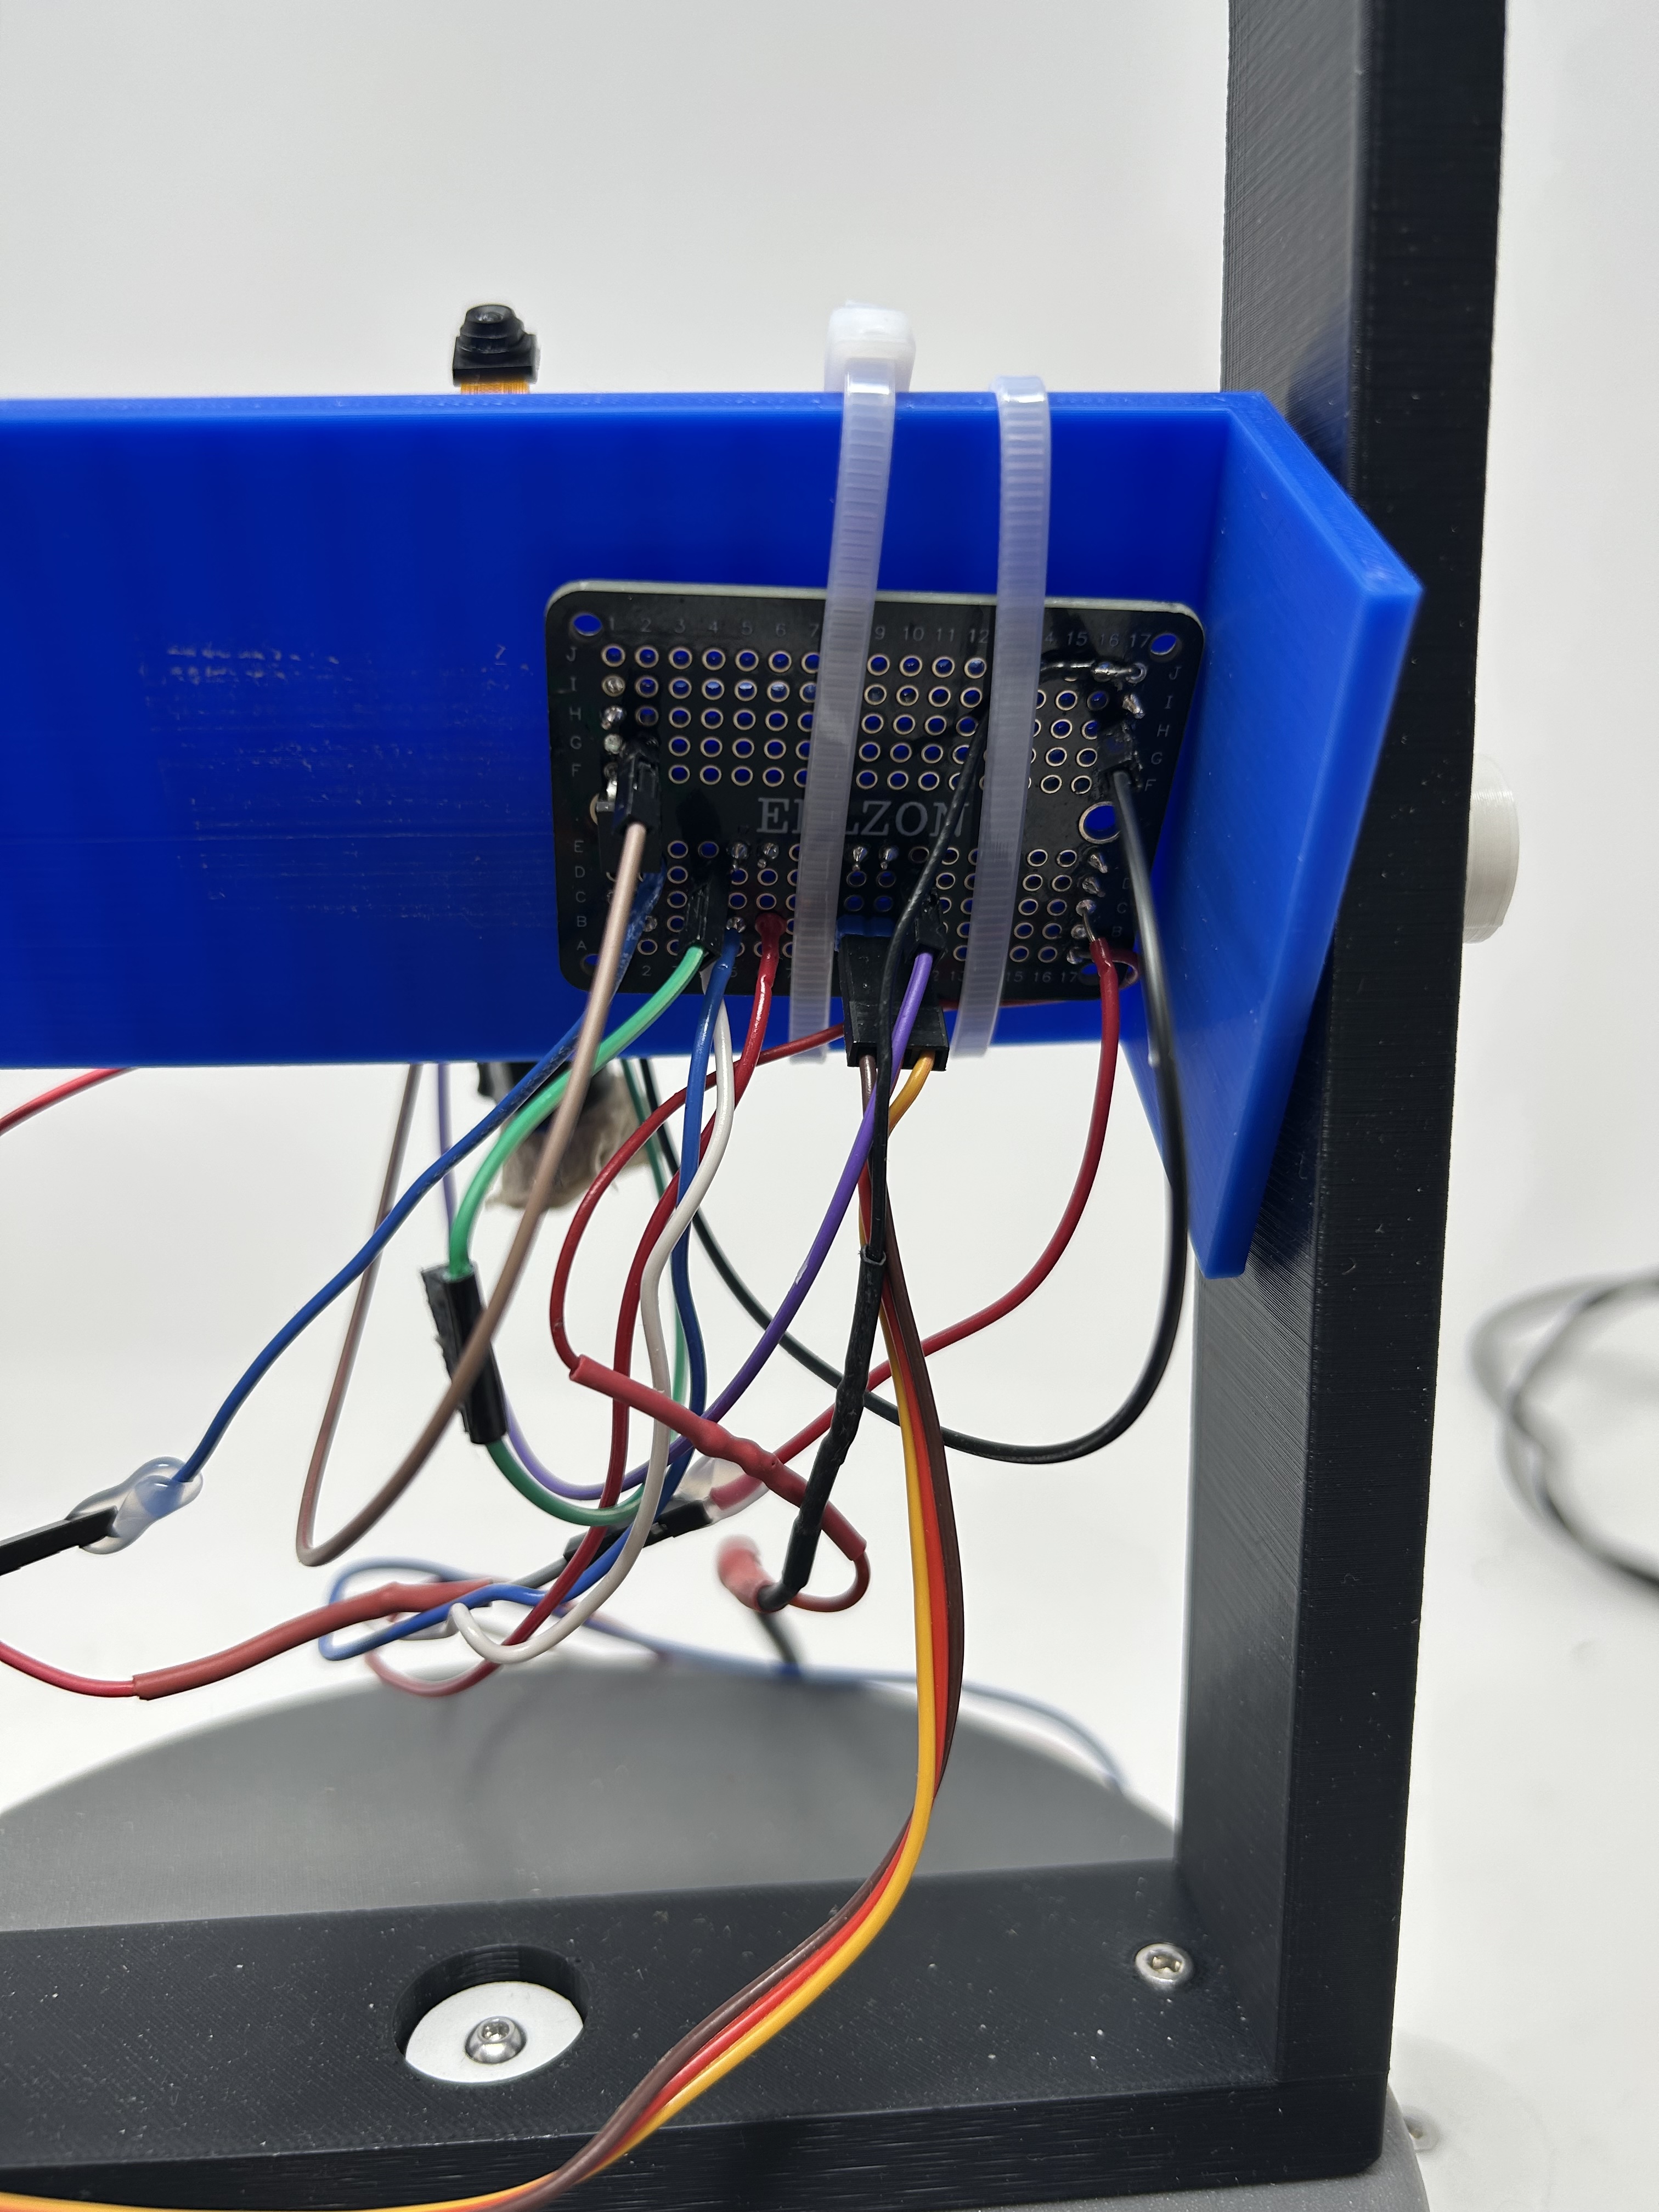
Protoboard mounted on turret
Wiring Connections
XIAO ESP32S3 Sense
        │
        ├── D0 (GPIO1) ──► Pan Servo Signal (orange/yellow)
        ├── D1 (GPIO2) ──► Tilt Servo Signal (orange/yellow)
        ├── D2 (GPIO3) ──► Laser Signal
        ├── 5V ──────────► Servo VCC (red) + Laser VCC
        └── GND ─────────► Servo GND (brown) + Laser GND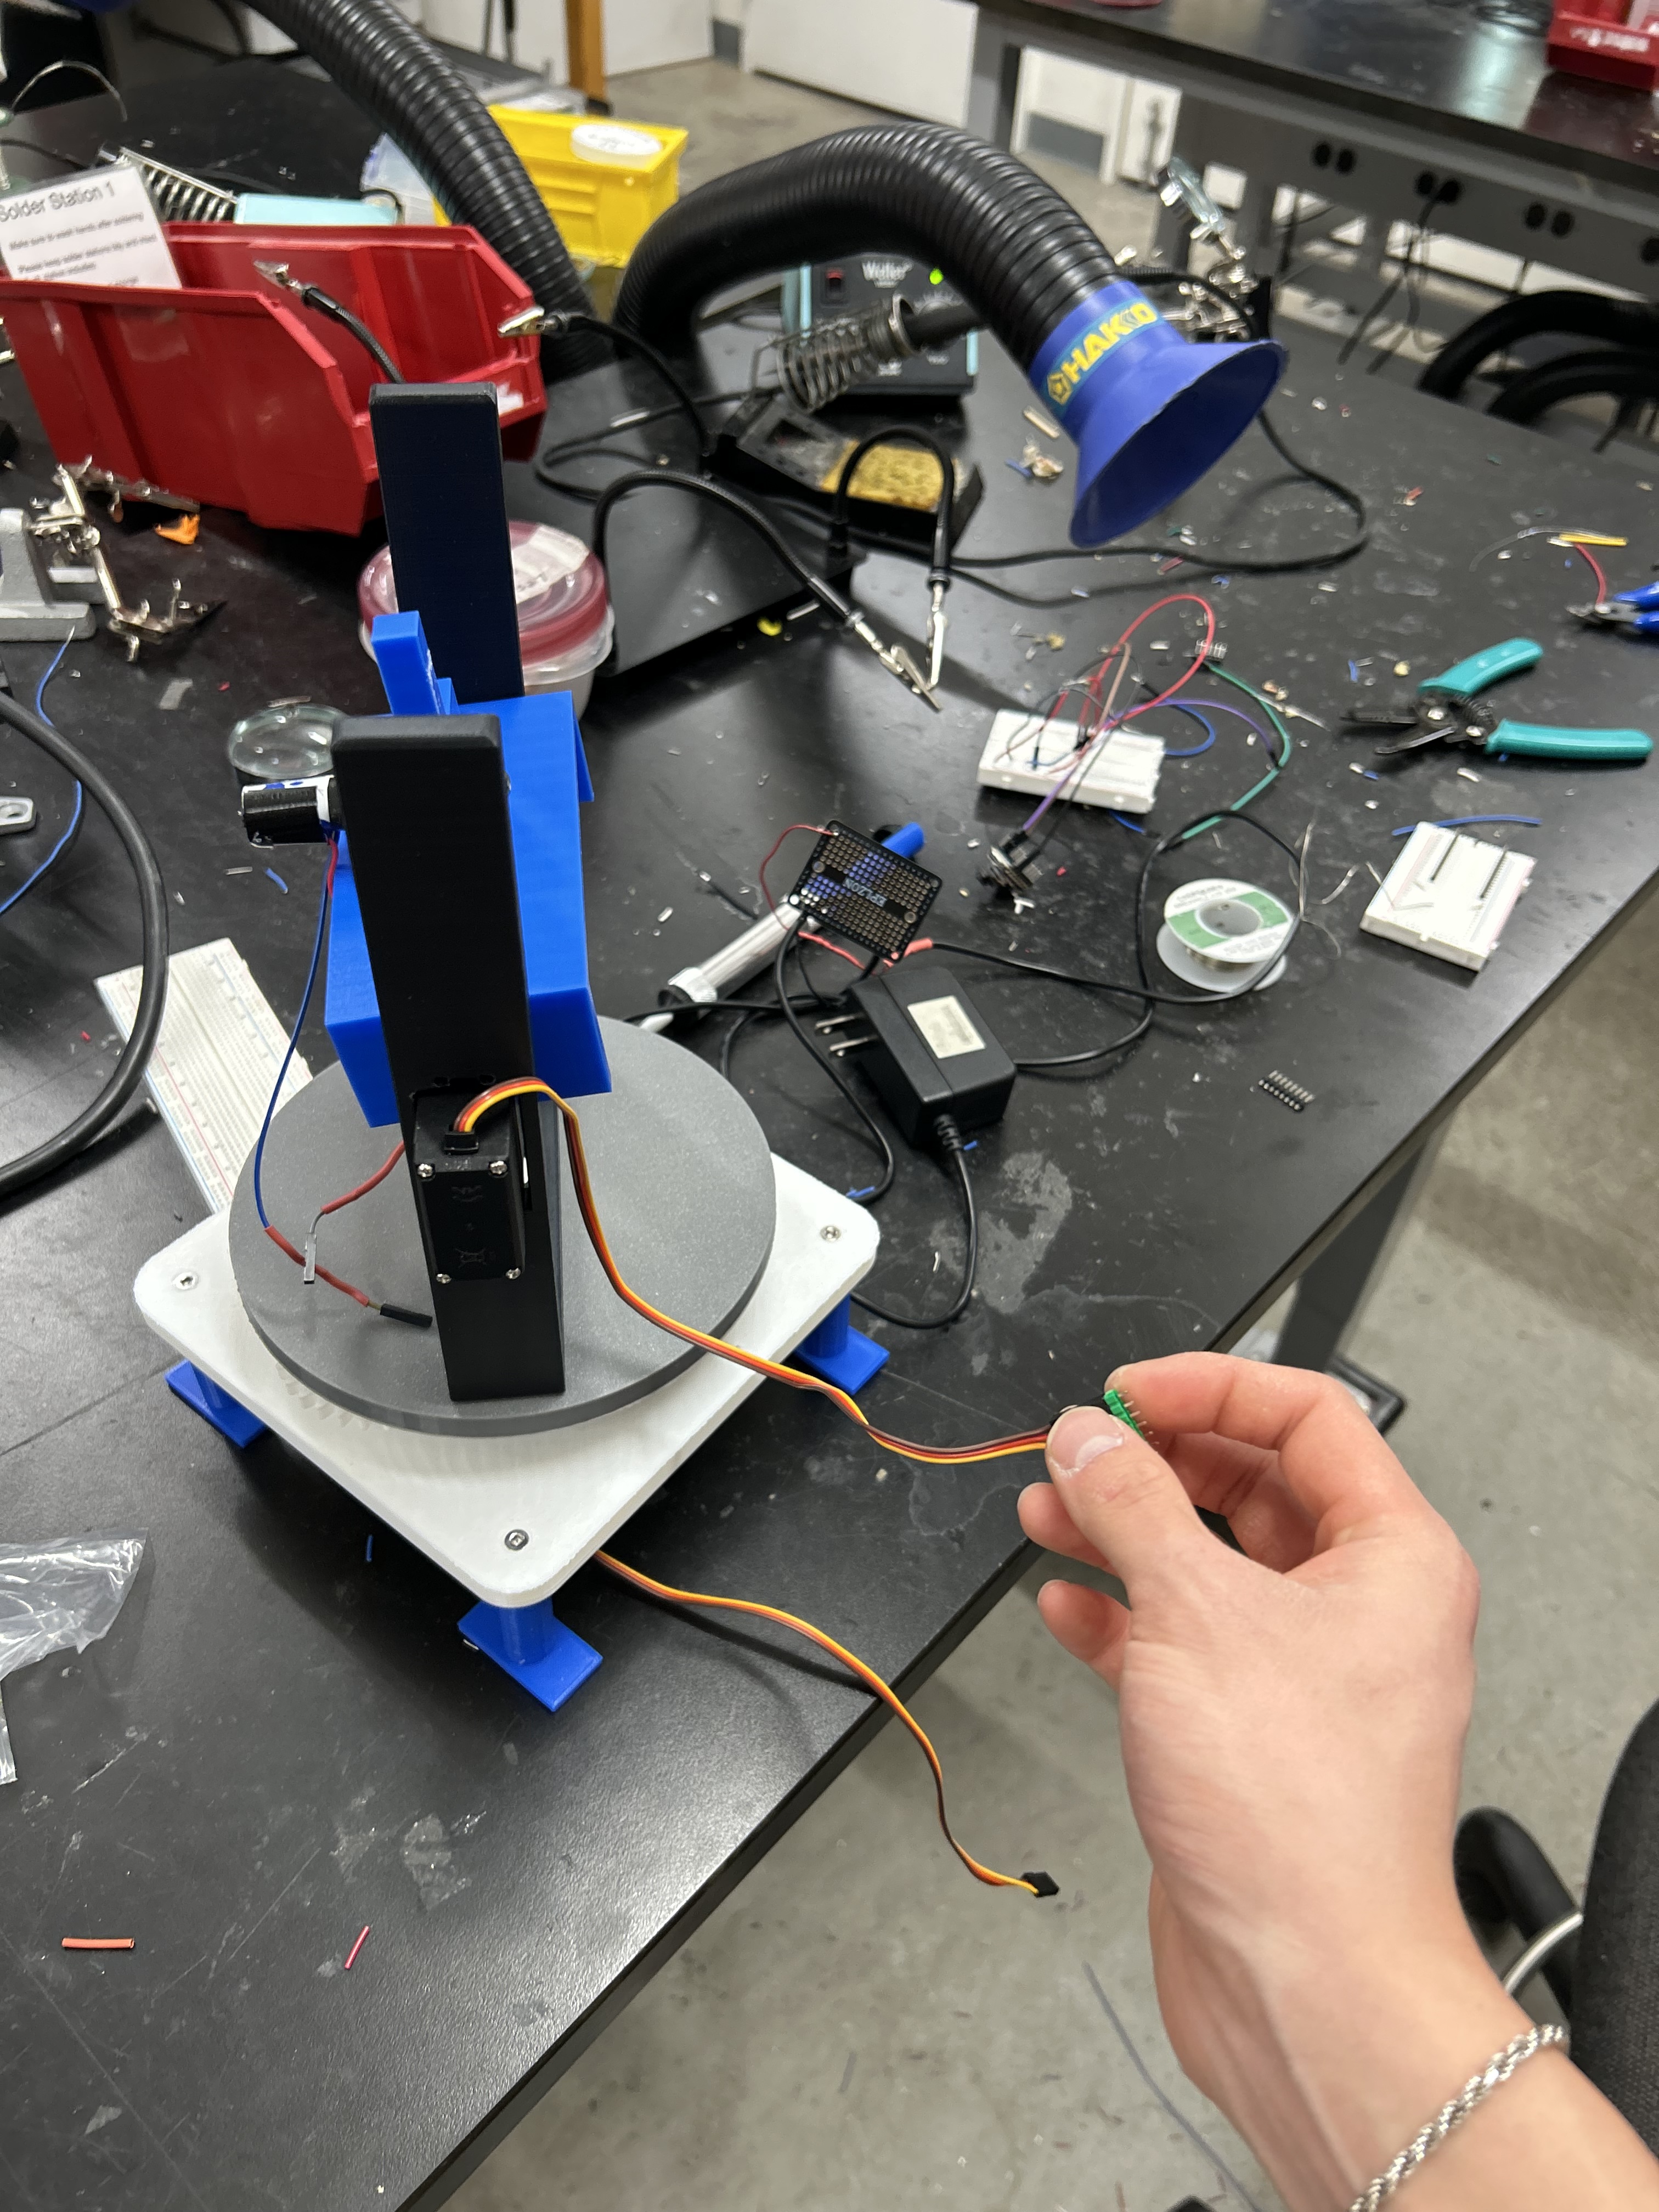
Soldering Station Work
Working at the soldering station to create permanent connections. The protoboard is mounted behind the turret head and secured with zip ties for a clean installation.
Download 3D Model Files
Download the complete turret platform design files for 3D printing or modification.
Software Architecture
The software is split between the ESP32 firmware (C++/Arduino) and the Python controller running on the laptop. Full code and documentation is available on GitHub.
ESP32 Firmware
- •Camera frame capture on-demand
- •JPEG compression and serial streaming
- •Servo PWM control (pan/tilt)
- •Laser on/off control
- •Command parsing from serial
Python Controller
- •YOLOv8 person detection (MPS/GPU)
- •PD control algorithm for smooth tracking
- •Multi-target cycling logic
- •Serial communication protocol
- •Live visualization with OpenCV
Note: Full code, wiring diagrams, and detailed documentation will be available on the Final Project page.
Next Steps
The core system is now functional. For the final project, I plan to:
- Fine-tune PD control parameters for smoother, faster tracking
- Add safety features (emergency stop, laser timeout)
- Improve target locking logic and lock-on threshold tuning
- Create polished demo video and comprehensive documentation