AI Sentry: Autonomous Person-Tracking Laser Turret
An intelligent automated turret using YOLOv8 computer vision and a XIAO ESP32S3 Sense to detect, track, and point a laser at moving targets in real-time.
Demo Video
AI Sentry autonomously detecting and tracking a person with the laser pointer
Why This Project?
This project excited me because it combines multiple disciplines I'm passionate about: computer vision, embedded systems, mechanical design, and real-time control systems. The challenge of creating a system that can detect a person, calculate where to aim, and smoothly track their movement pushed me to integrate everything I learned in PS70.
Beyond the technical challenge, I was inspired by automated camera tracking systems used in broadcasting and security. The laser pointer version serves as a safe, visible demonstration of the core tracking algorithms that could be adapted for professional applications.
System Architecture
The AI Sentry uses a split architecture: the ESP32S3 handles camera capture and servo control, while a MacBook runs the computationally intensive YOLOv8 person detection. Communication happens via USB serial with a custom request-response protocol for minimal latency.
┌─────────────────────┐        USB Serial         ┌─────────────────────┐
│   XIAO ESP32S3      │◄─────────────────────────►│      MacBook        │
│   Sense             │                           │                     │
│                     │   Request + Commands ───► │  - YOLOv8 (MPS/GPU) │
│   - OV2640 Camera   │                           │  - PD Control       │
│   - Pan/Tilt Servos │   ◄─── JPEG Frame         │  - Target Cycling   │
│   - Laser Module    │                           │  - Live Viz Window  │
└─────────────────────┘                           └─────────────────────┘
Input
OV2640 camera captures JPEG frames on-demand and streams via USB serial at 921600 baud
Processing
YOLOv8 runs on MacBook with Apple Silicon GPU (MPS) for real-time person detection at 15+ FPS
Output
PD controller calculates servo angles, ESP32 drives servos and laser via PWM and MOSFET
3D Model
Interactive 3D model of the complete AI Turret Platform. Rotate and zoom to explore the design.
Hardware Build
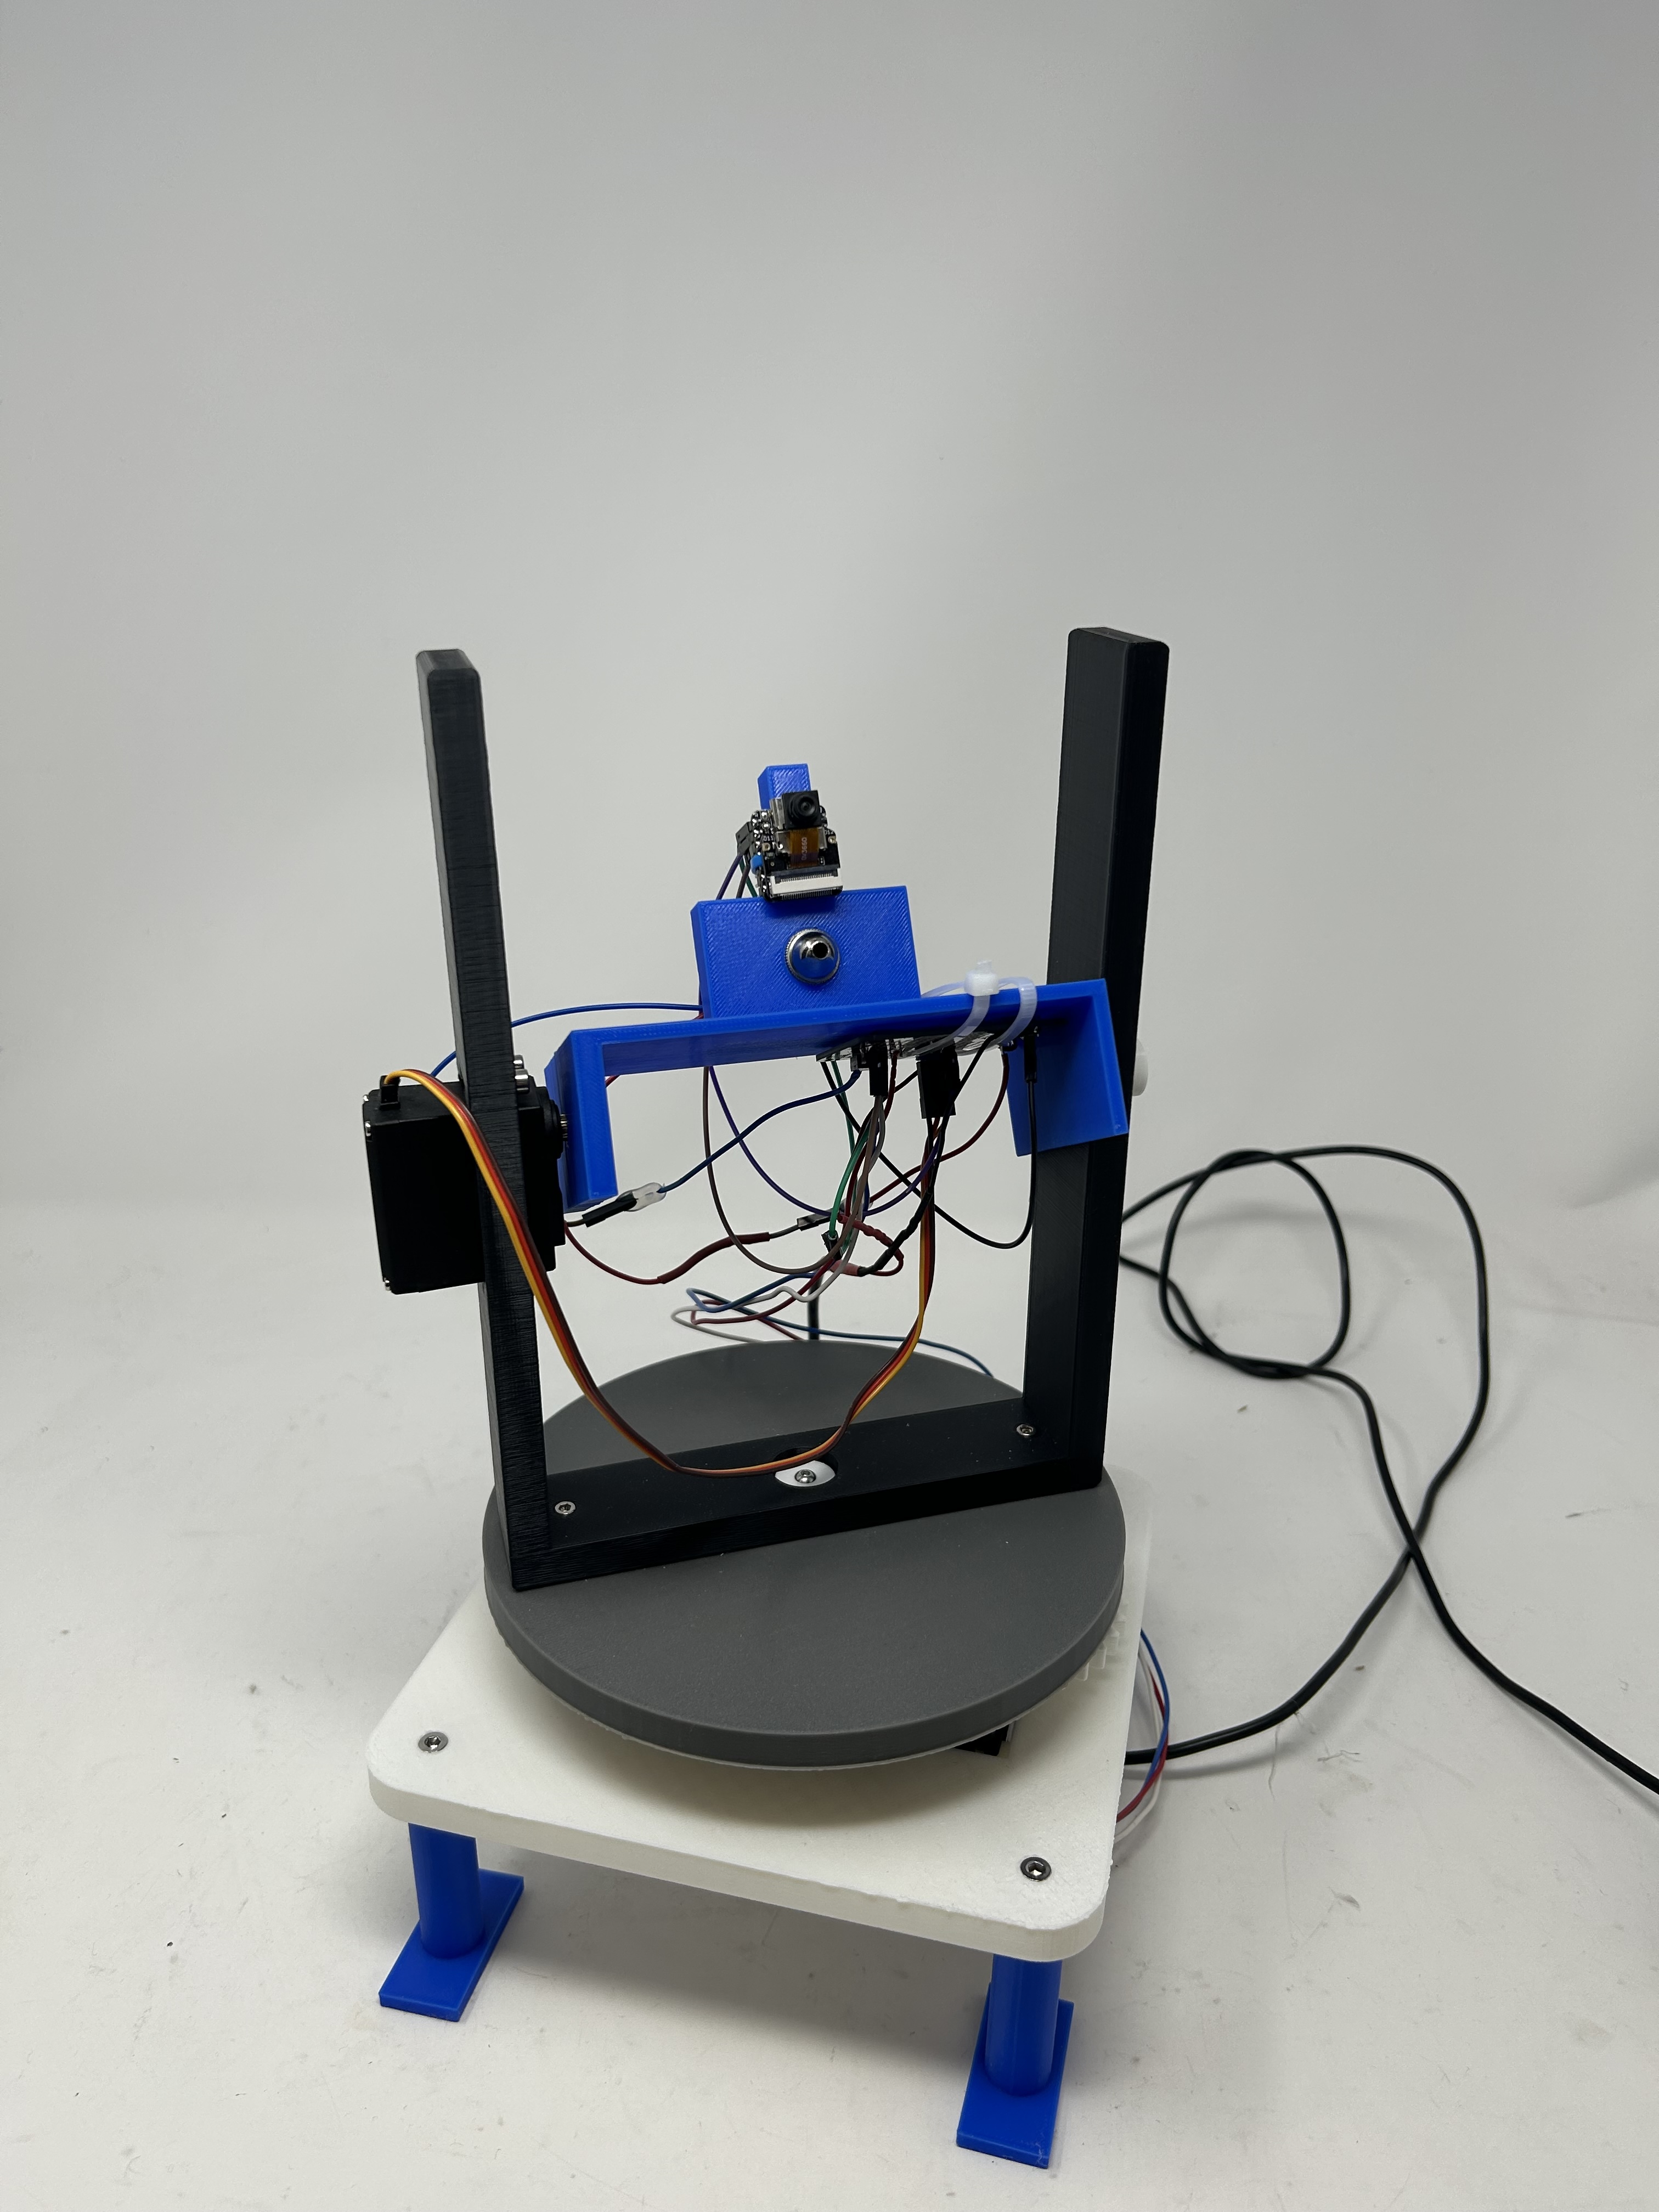
Front View
The XIAO ESP32S3 Sense with camera is mounted on the blue 3D-printed head. The laser pointer sits just below the camera for parallel aim. The tilt servo provides vertical movement while the pan servo rotates the entire platform.
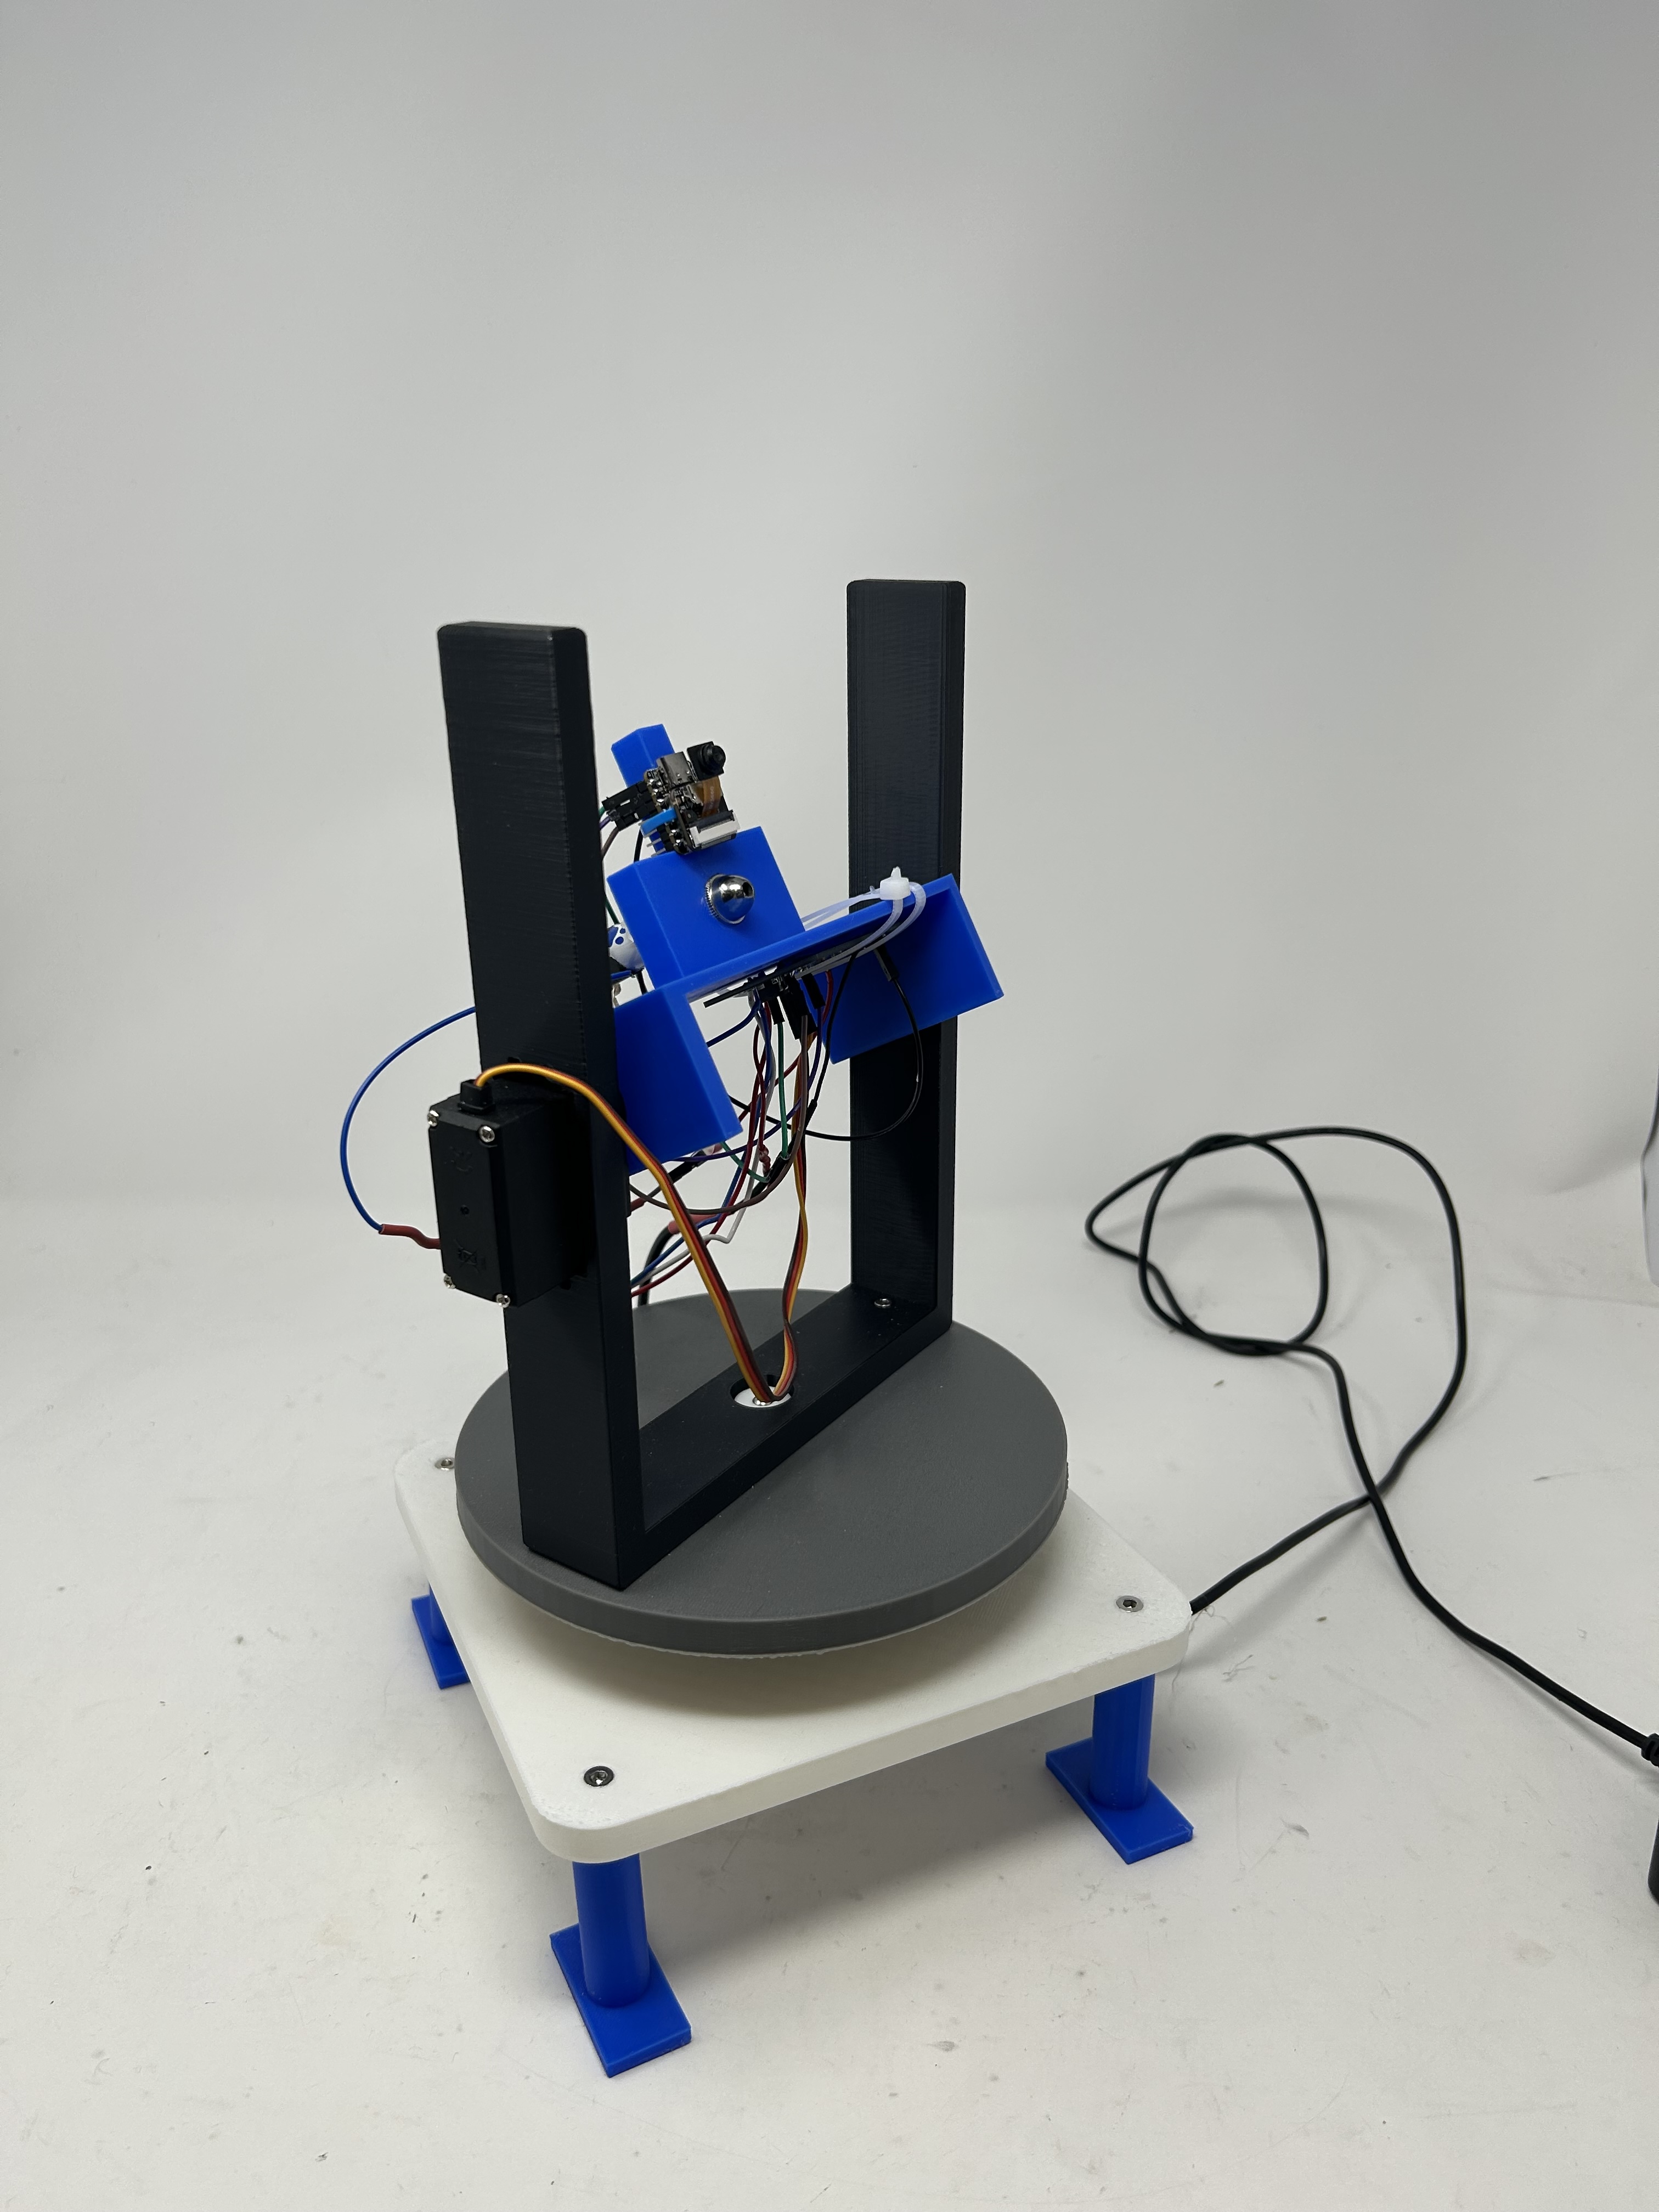
Side View
Side profile showing the mechanical structure: the tilt mechanism uses a servo mounted to the U-frame, wiring runs cleanly through the structure, and the base provides stable support with 3D-printed feet.
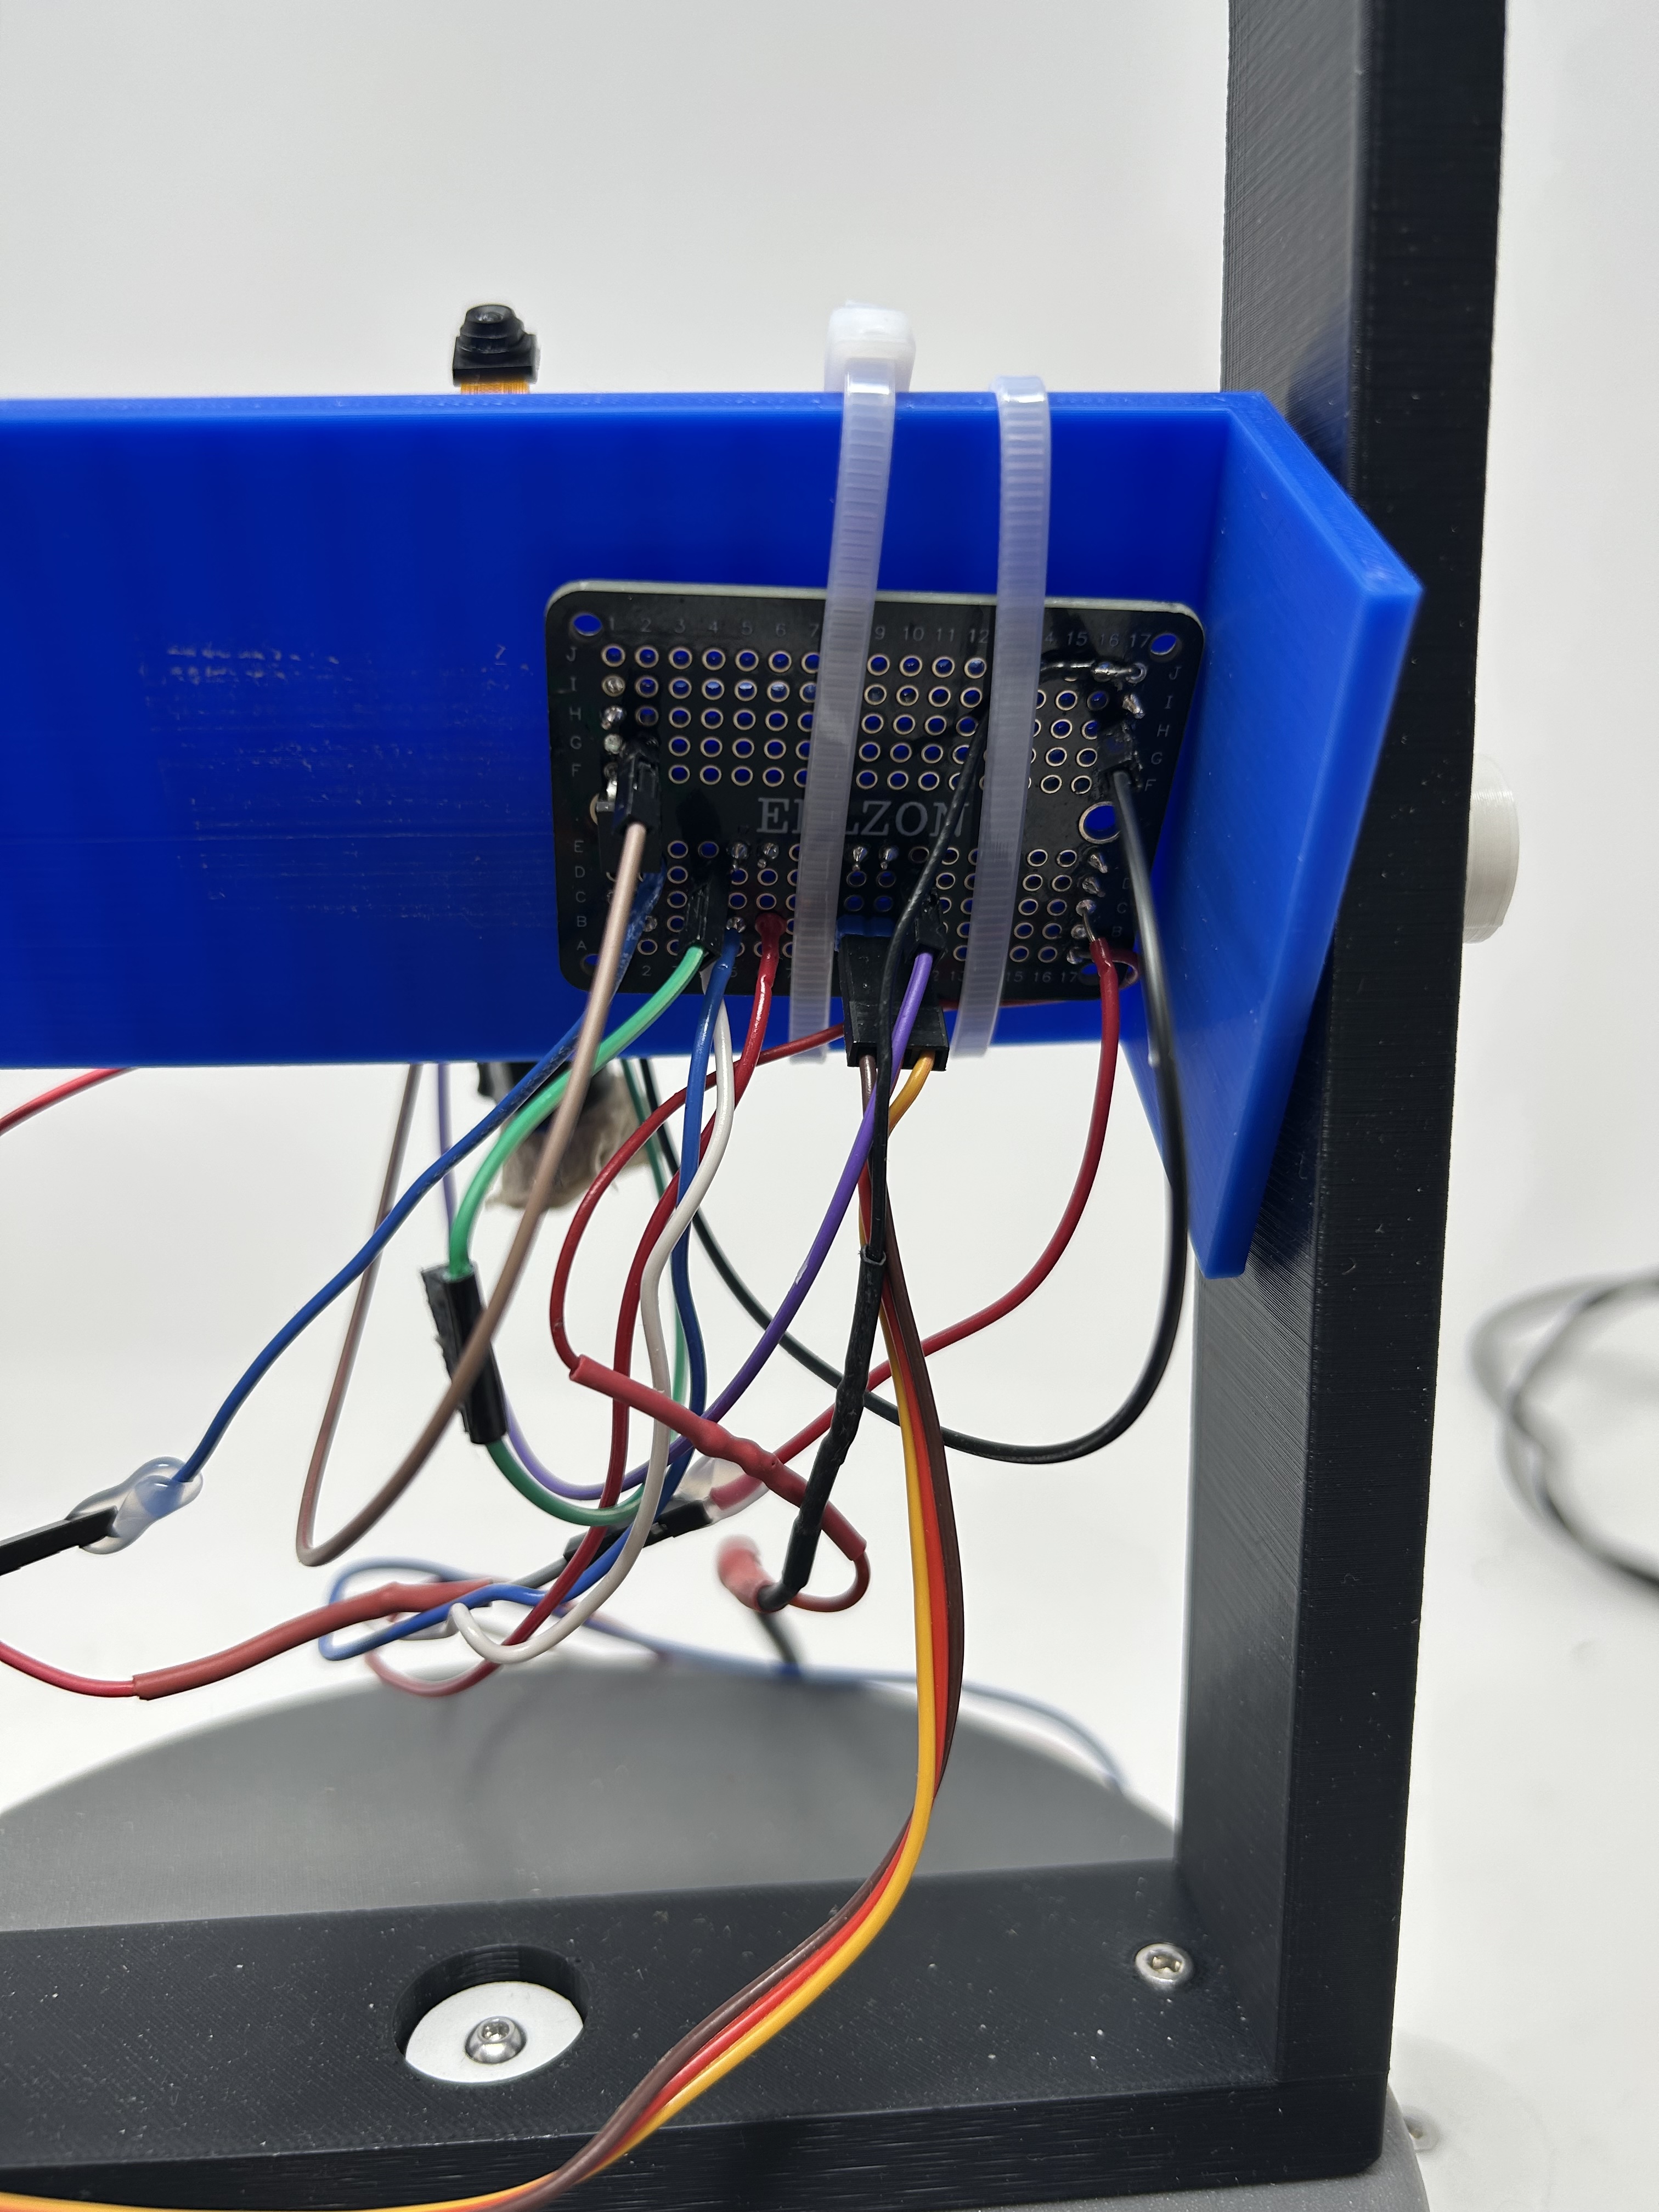
Protoboard Circuit
Soldered connections for servos, laser MOSFET, and power distribution
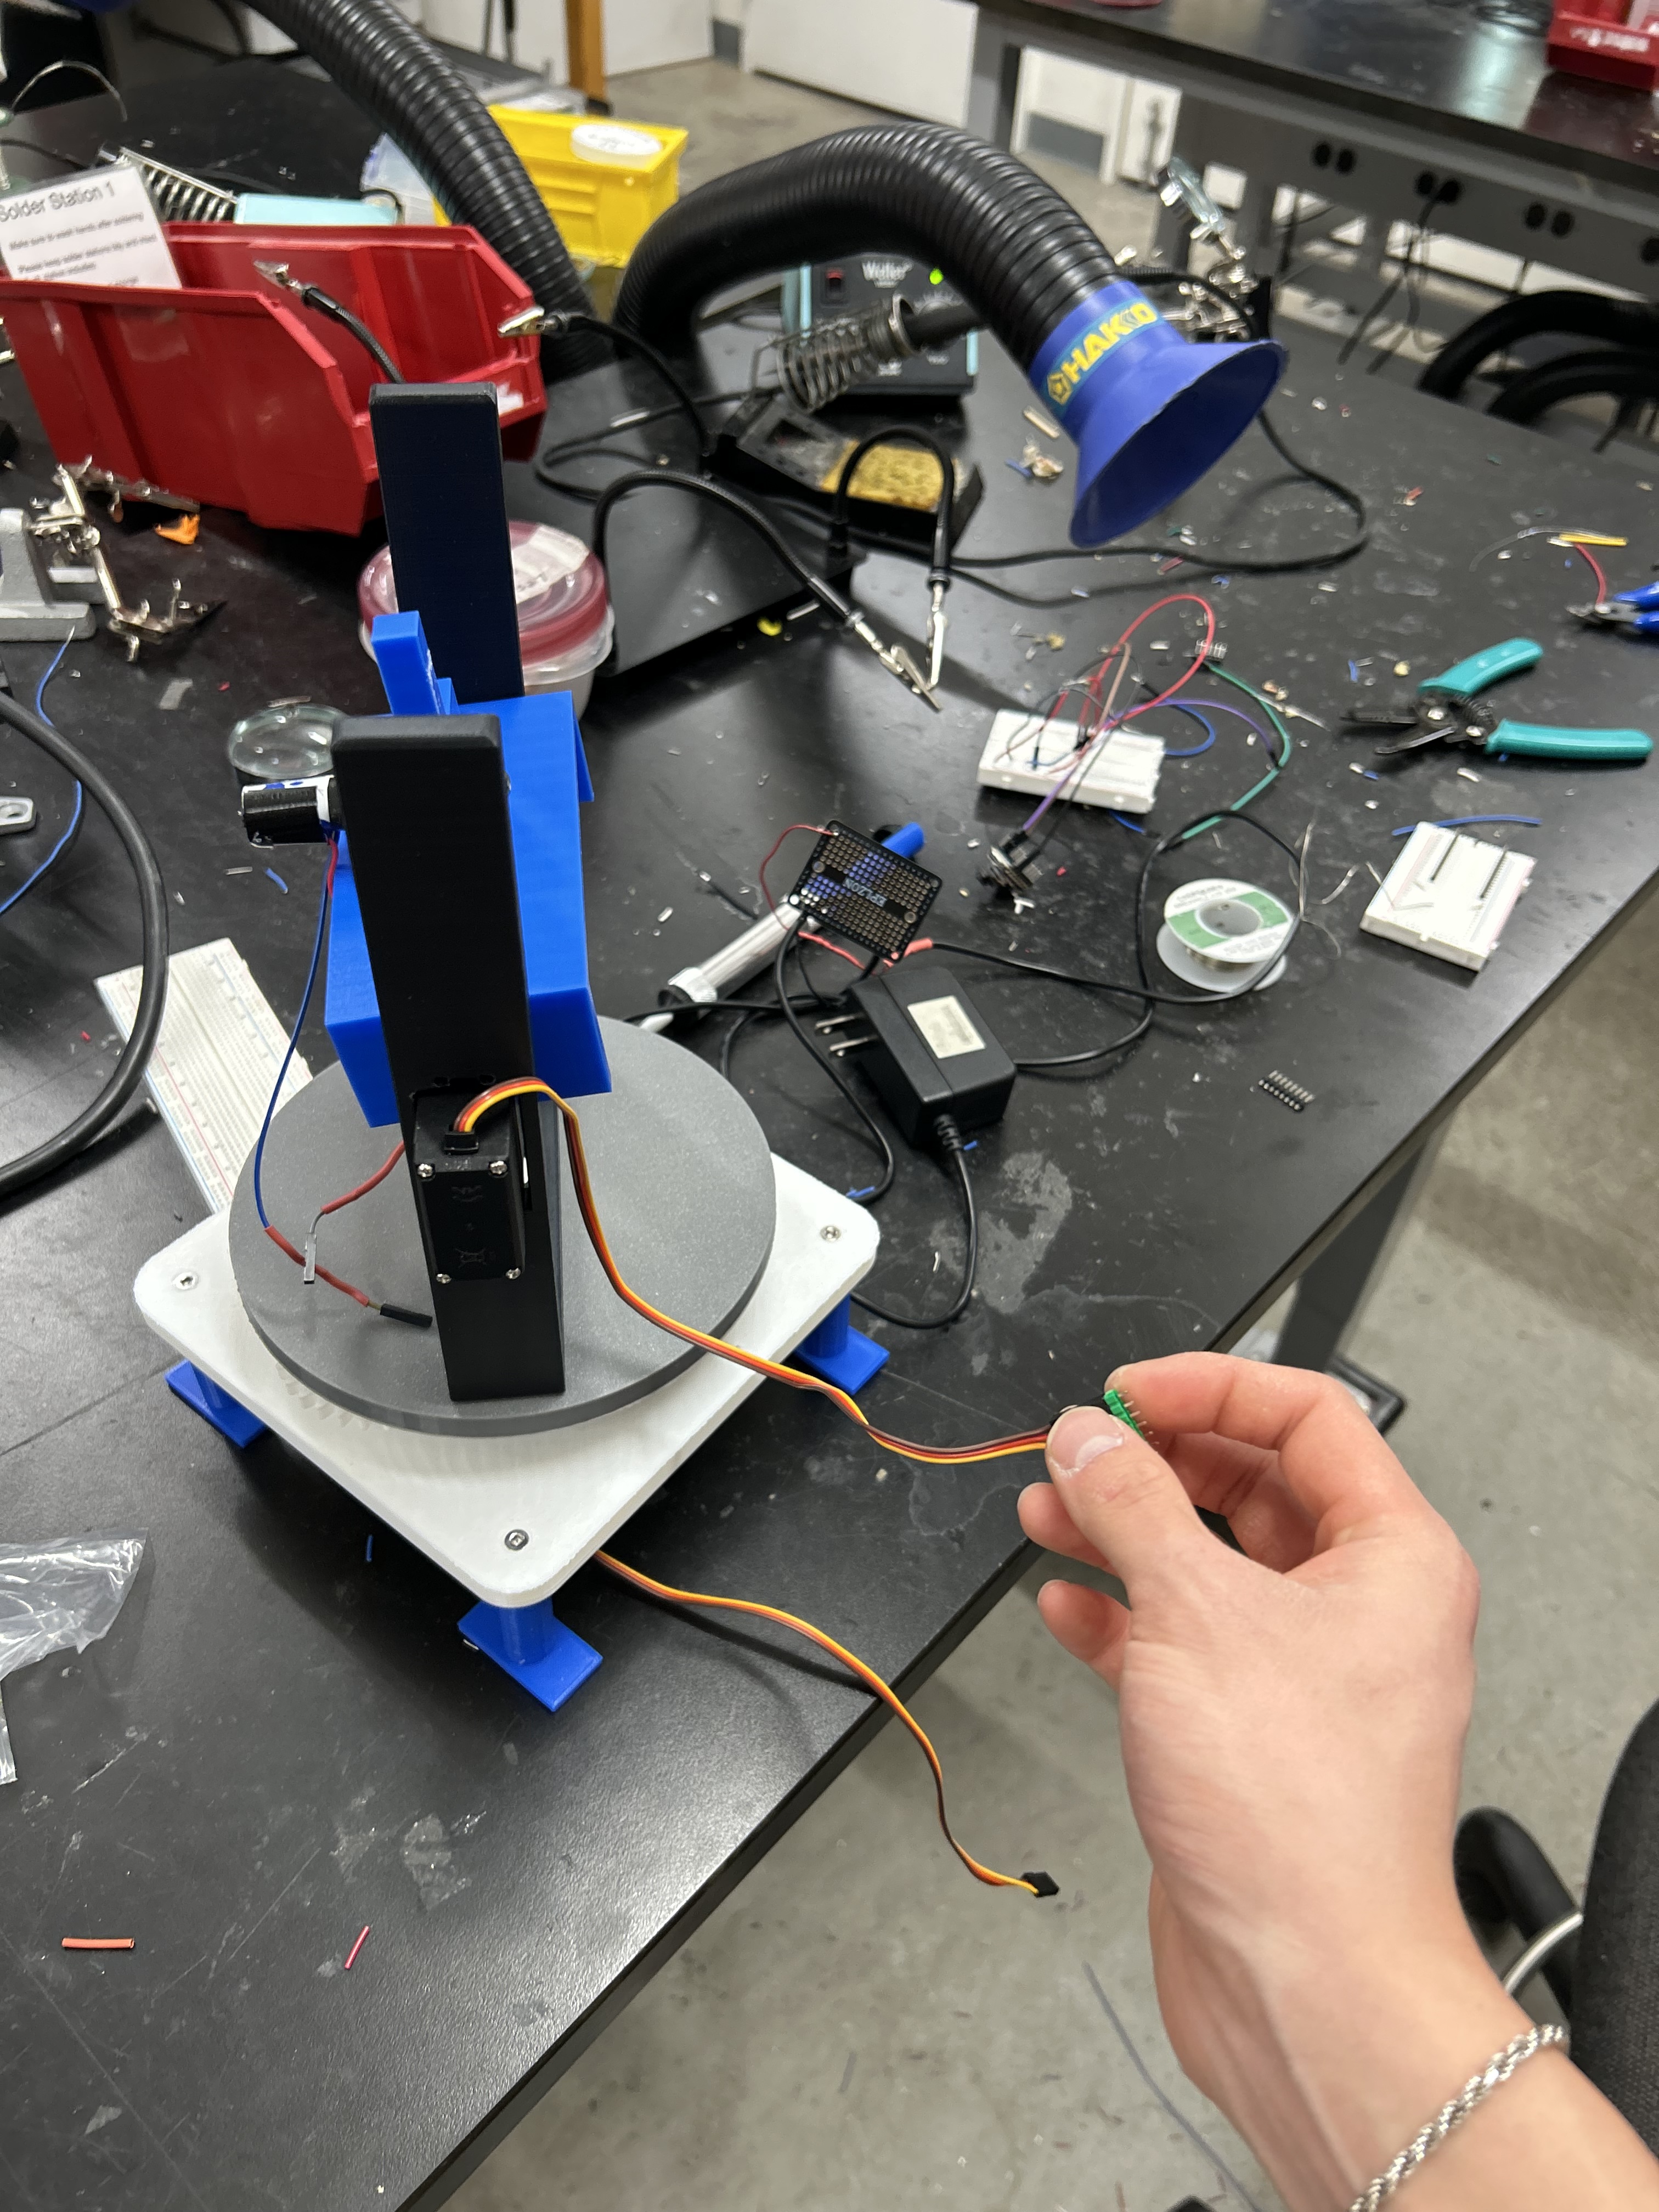
Assembly Process
Working at the soldering station to create permanent connections
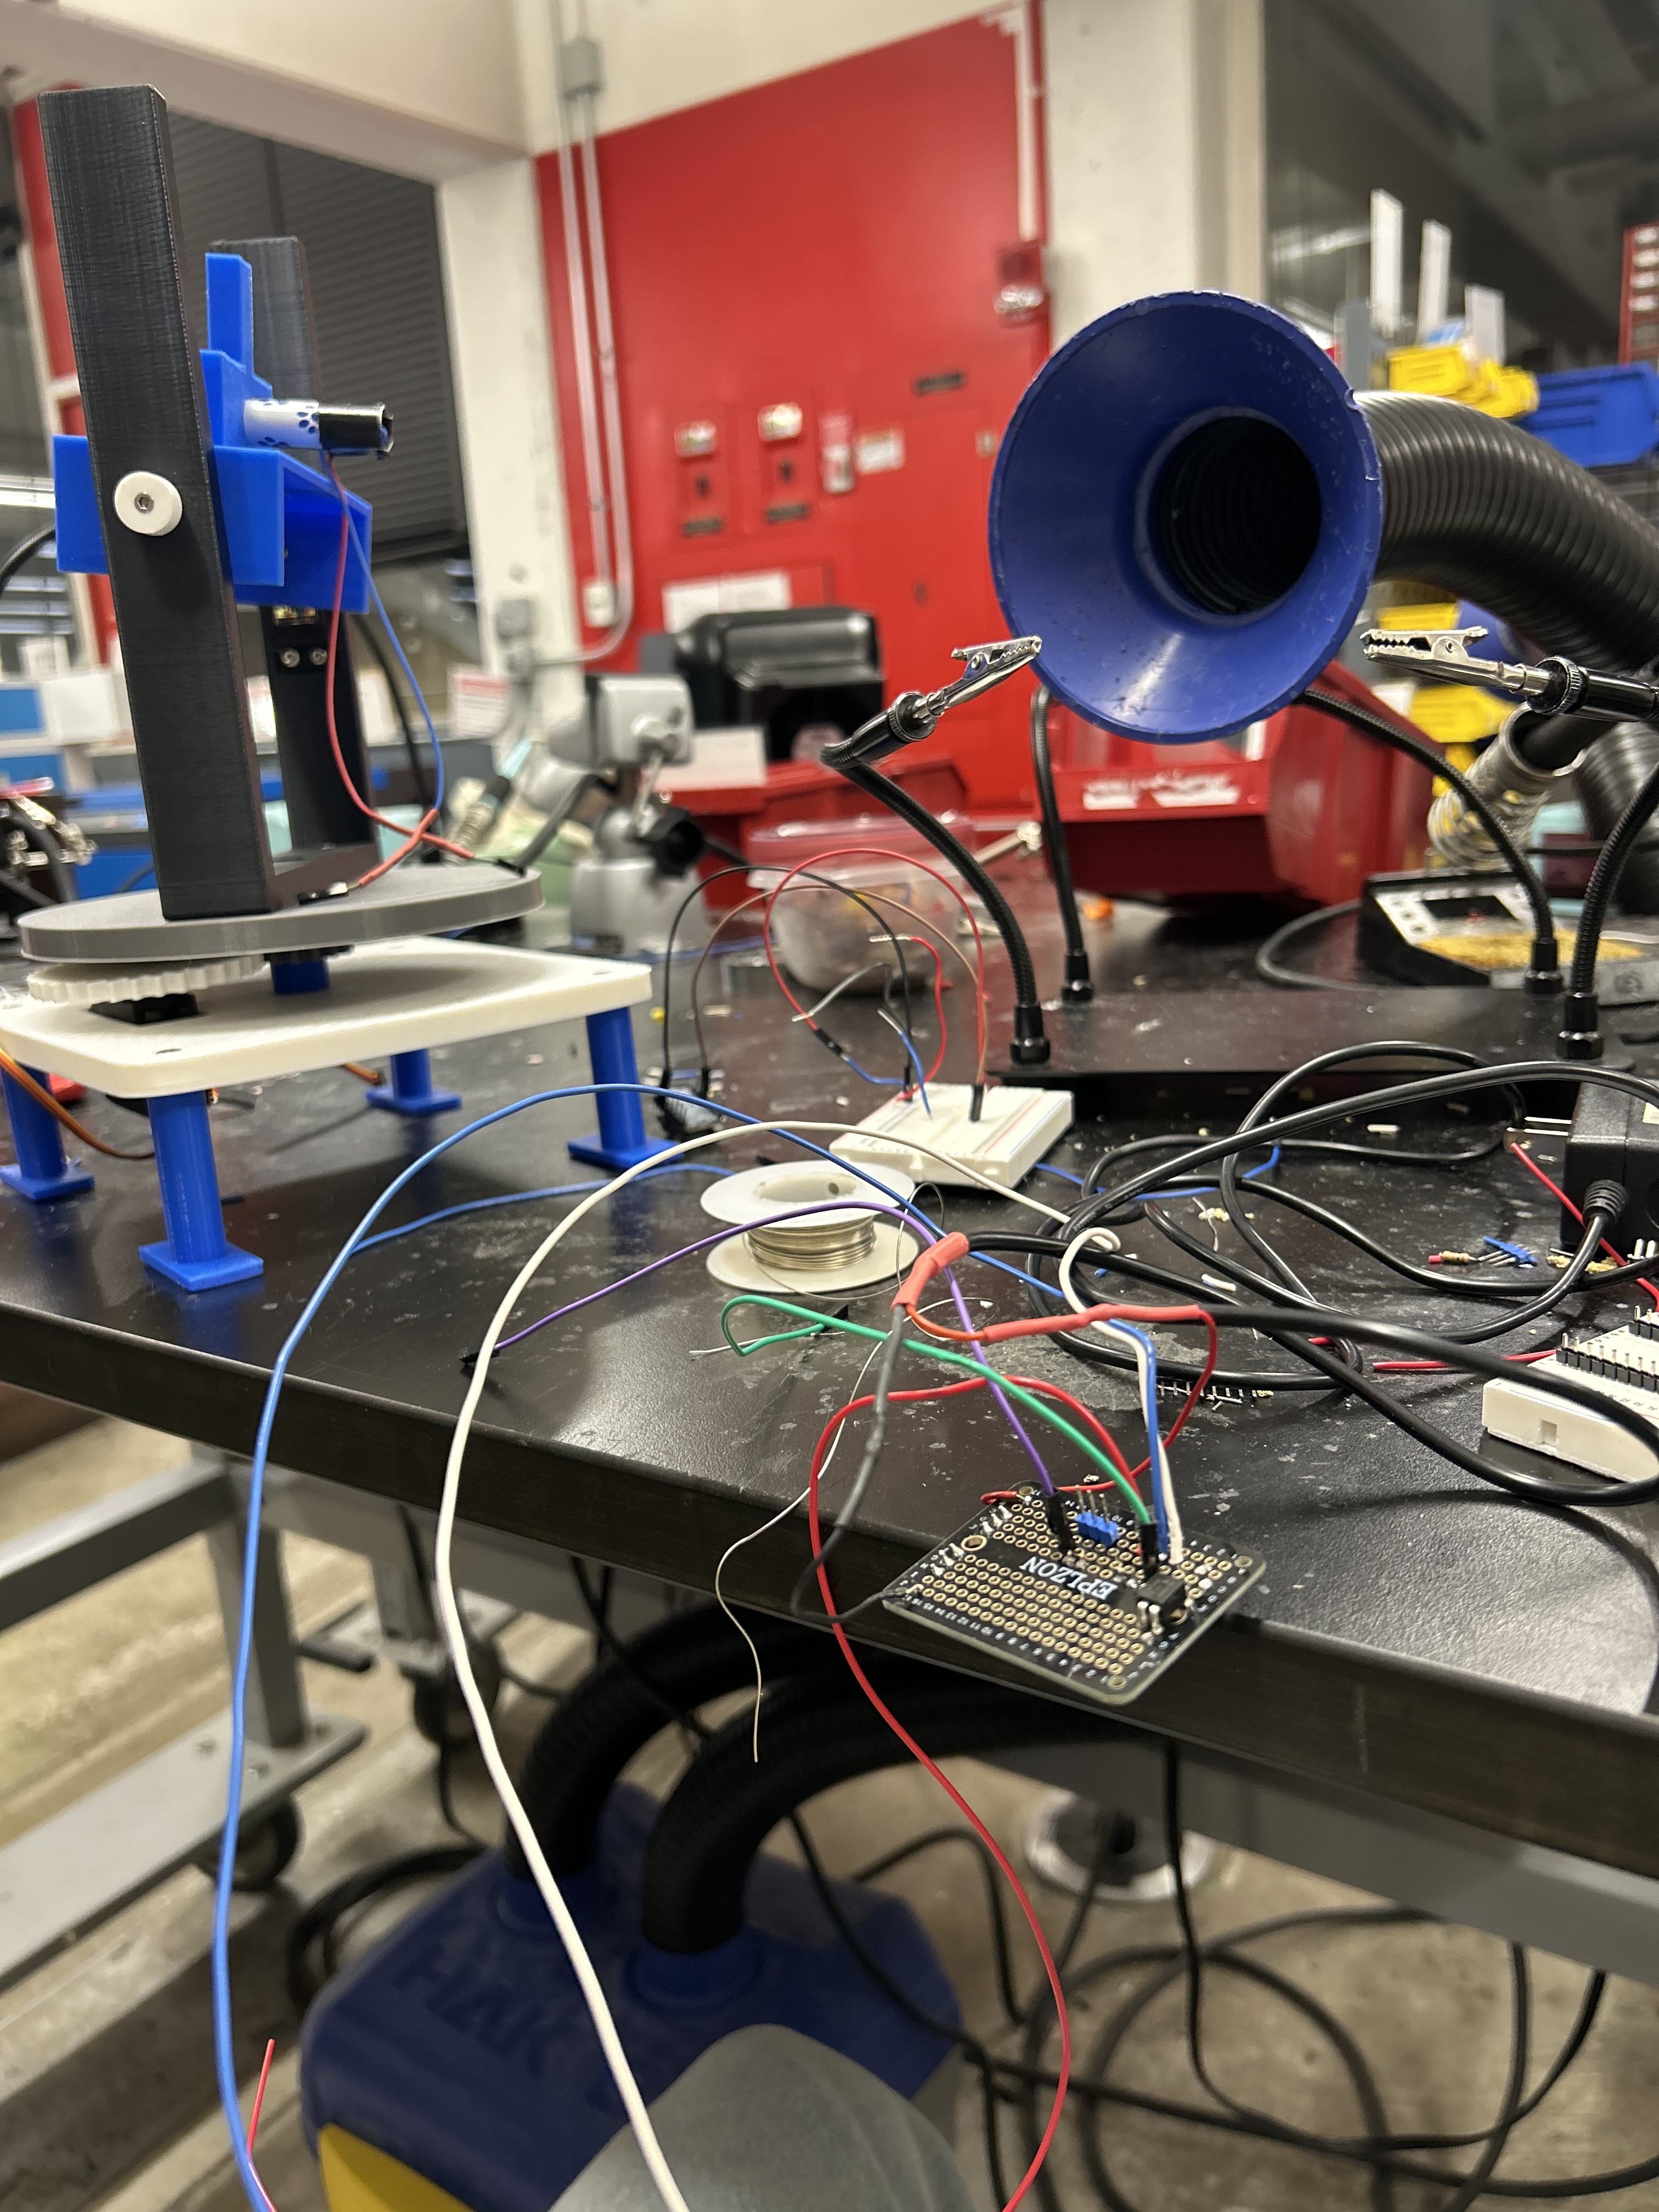
Protoboard Wiring
Soldering wires to the protoboard for permanent, reliable connections
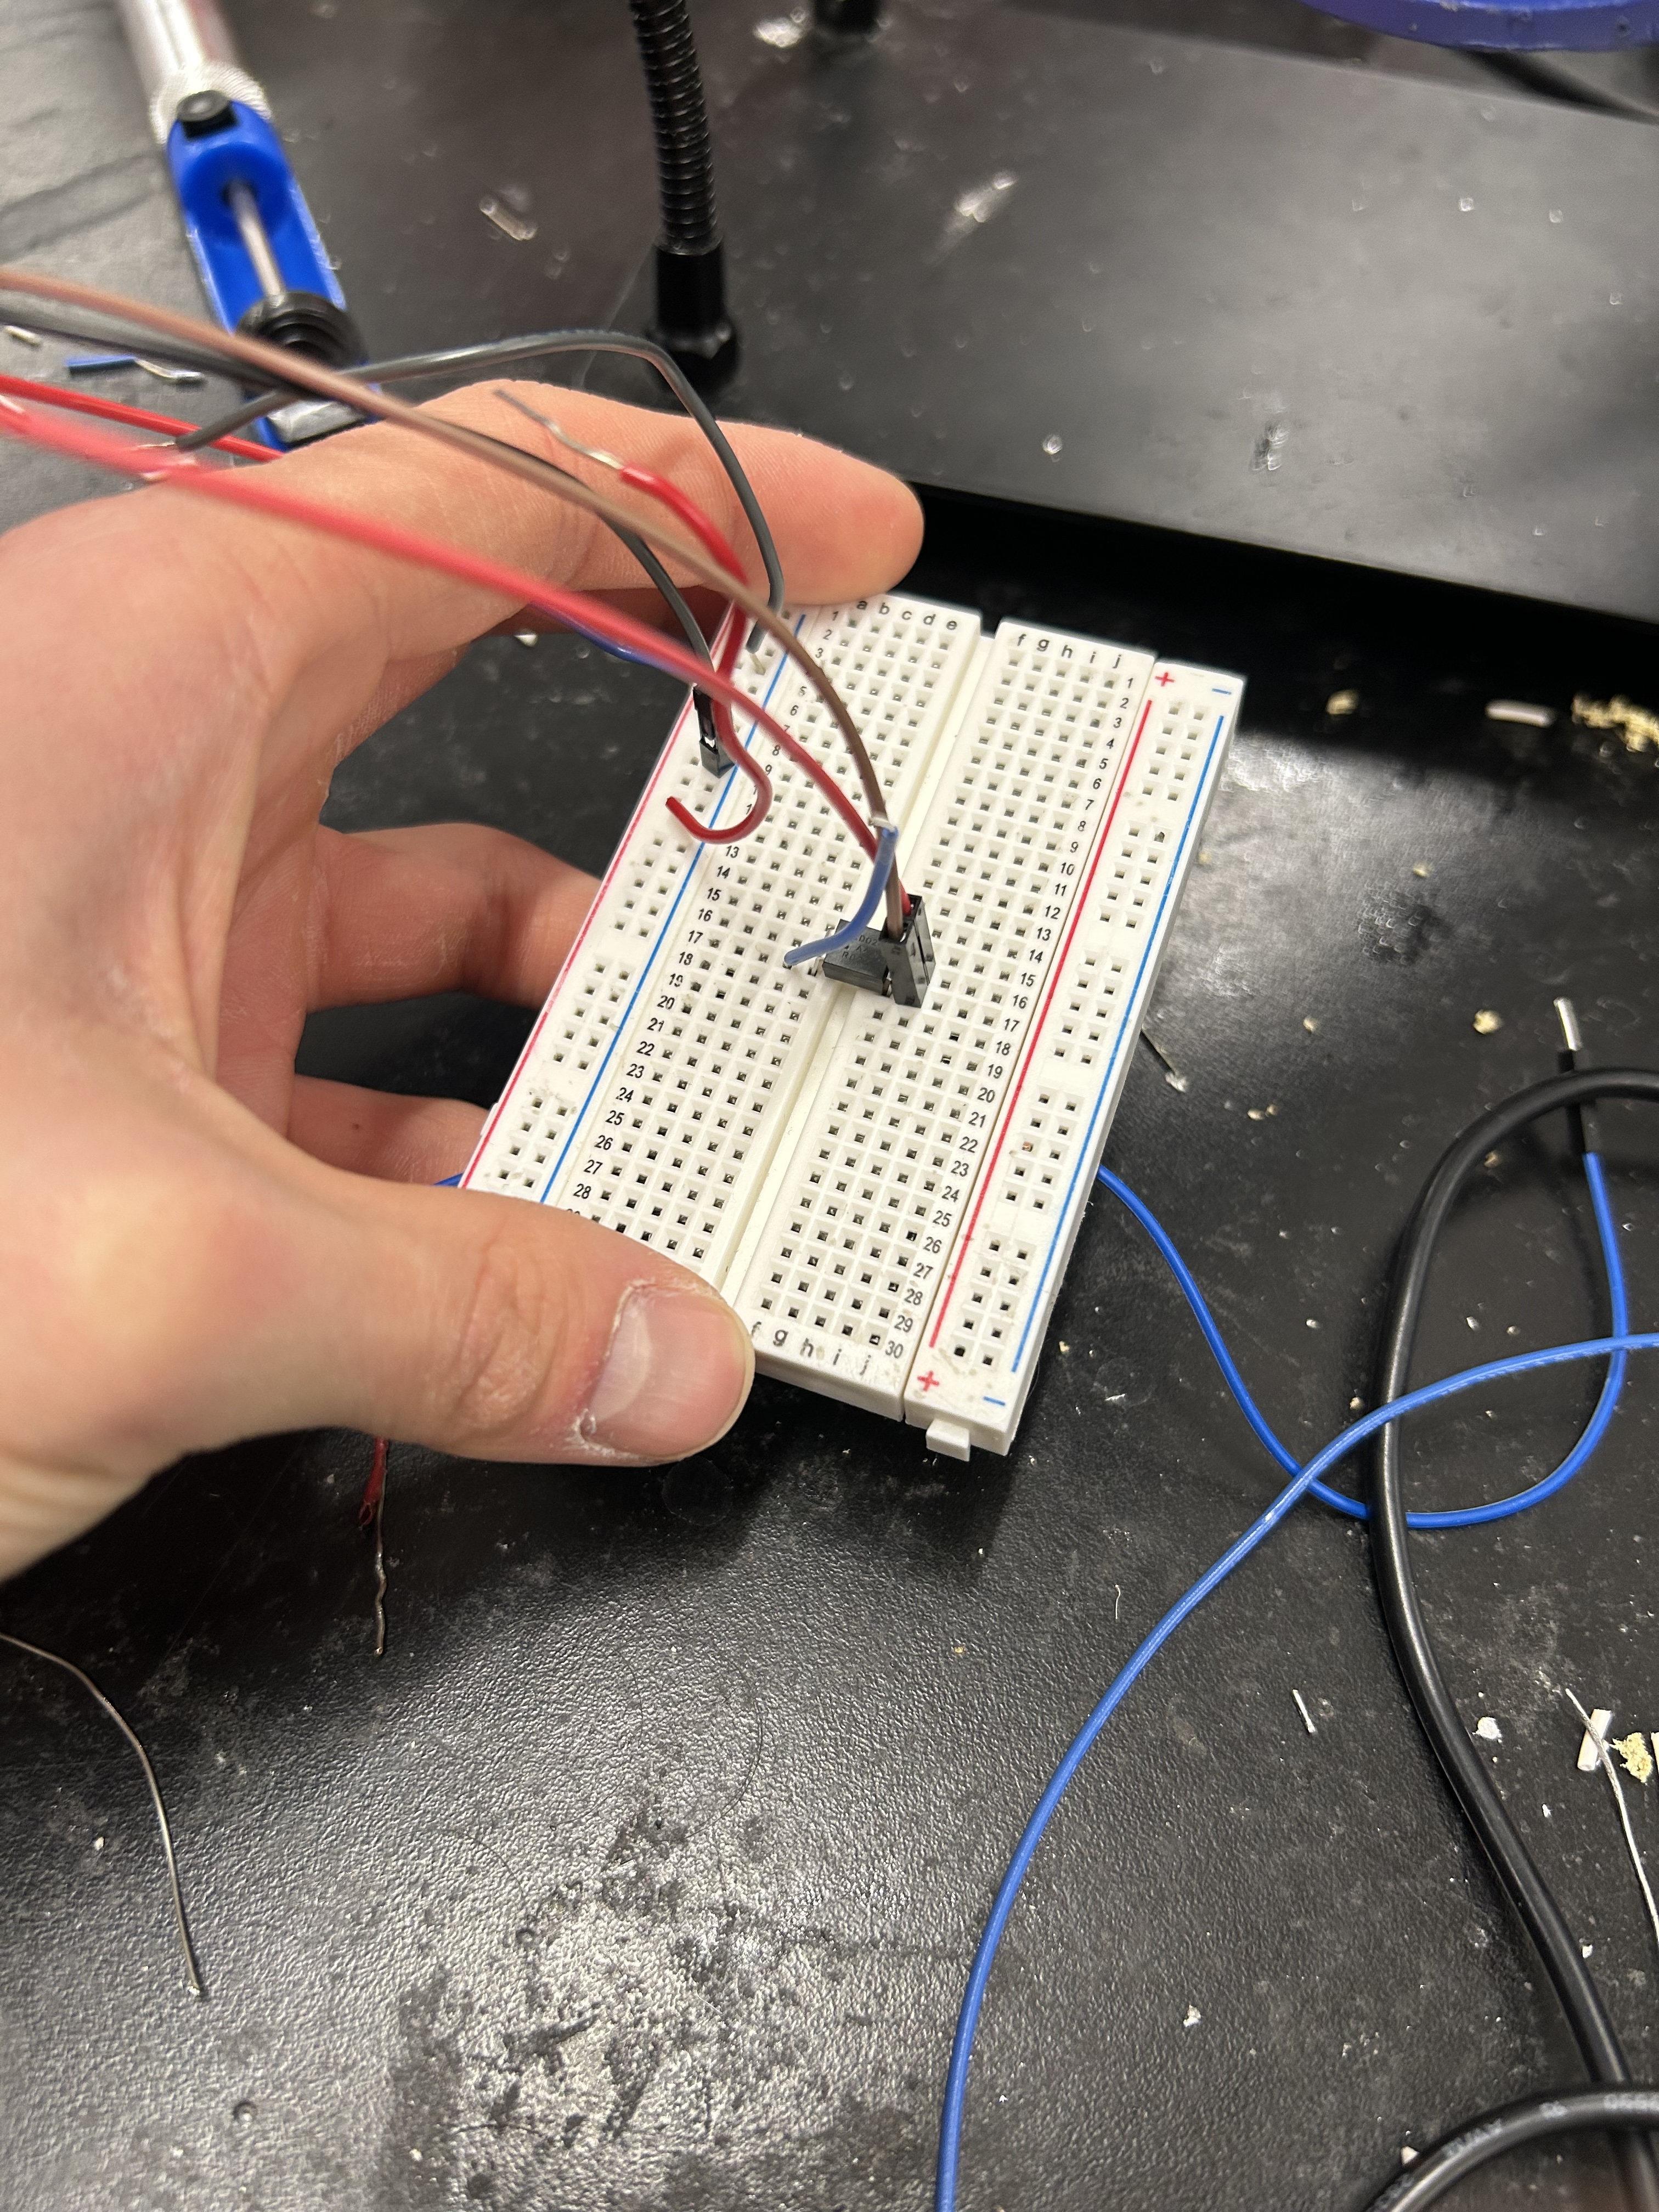
From Breadboard to Protoboard
The initial prototype used a breadboard for rapid iteration. Once the circuit was finalized, I migrated to a soldered protoboard for reliability. Loose breadboard connections caused intermittent servo glitches that were eliminated with permanent solder joints.
Pro tip: Always prototype on breadboard first, then migrate to protoboard once you've confirmed the circuit works correctly.
Bill of Materials
Electronics
- XIAO ESP32S3 Sense + Camera$14
- Protoboard$3
- IRLD024 N-Channel MOSFET$2
- Jumper Wires (assorted)$5
Actuators
- Miuzei MG996R All-Metal Servo (2x)$20
- Pet Laser Pointer (5V)$8
- MG996R: 11kg·cm torque, 4.8-6.6V
Power
- 5V DC Power Brick$10
- USB-C Cable (data)$5
3D Printed Parts
- Base platformPLA
- Pan turntablePLA
- U-frame uprightsPLA
- Camera/laser headPLA
- Feet (4x)PLA
- PLA Filament (~200g)$5
Hardware
- M3 Screws & Nuts$4
- M4 Screws & Nuts$3
- Zip Ties$2
Total Cost
Excluding MacBook for inference
Wiring Diagram
XIAO ESP32S3 Sense
        │
        ├── D0 (GPIO1) ──────────────────► Pan Servo Signal (orange)
        │
        ├── D1 (GPIO2) ──────────────────► Tilt Servo Signal (orange)
        │
        ├── D2 (GPIO3) ──► IRLD024 Gate ──► Laser Module (+)
        │                      │
        │                      └── Source ──► GND
        │                      └── Drain ──► Laser (-)
        │
        ├── 5V ──────────────────────────► Servo VCC (red) × 2
        │                                  Laser VCC (+)
        │
        └── GND ─────────────────────────► Servo GND (brown) × 2
                                           MOSFET Source
Laser GND (-)⚡Why the MOSFET?
The laser module draws more current than the ESP32 GPIO can safely source directly. The IRLD024 N-channel MOSFET acts as a switch: when D2 goes HIGH, the MOSFET conducts and powers the laser from the 5V rail. This protects the GPIO pin while providing sufficient current for the laser.
Download CAD Files
Download the 3D model files to print your own AI Sentry turret platform.
Software
GitHub Repository
View on GitHubThe complete source code is available on GitHub with setup instructions, wiring diagrams, and documentation.
ESP32 Firmware
PlatformIO / Arduino C++
- • Camera frame capture on-demand
- • JPEG streaming via USB serial
- • Command parsing for servo angles
- • PWM servo control
- • Laser MOSFET control
Python Controller
Python 3.9+ with YOLOv8
- • YOLOv8 person detection (MPS/GPU)
- • PD control algorithm
- • Multi-target cycling
- • Serial protocol handler
- • Live OpenCV visualization
ESP32 Main Loop (Simplified)
void loop() {
  if (Serial.available()) {
    String cmd = Serial.readStringUntil('>');

    // Parse command: <P:pan,T:tilt,L:laser,F:1>
    int pan = parseValue(cmd, "P:");
    int tilt = parseValue(cmd, "T:");
    int laser = parseValue(cmd, "L:");
    int requestFrame = parseValue(cmd, "F:");

    // Update servos
    panServo.write(constrain(pan, 0, 180));
    tiltServo.write(constrain(tilt, 0, 180));

    // Control laser via MOSFET
    digitalWrite(LASER_PIN, laser ? HIGH : LOW);

    // Send frame if requested
    if (requestFrame) {
      captureAndSendFrame();
    }
  }
}

void captureAndSendFrame() {
  camera_fb_t *fb = esp_camera_fb_get();
  if (fb) {
    // Send header: 0xAA55AA55 + length
    uint32_t header = 0xAA55AA55;
    Serial.write((uint8_t*)&header, 4);
    Serial.write((uint8_t*)&fb->len, 4);
    Serial.write(fb->buf, fb->len);
    esp_camera_fb_return(fb);
  }
}
Python PD Controller (Simplified)
class PDController:
    def __init__(self, kp=0.2, kd=0.1):
        self.kp = kp
        self.kd = kd
        self.prev_error_x = 0
        self.prev_error_y = 0

    def update(self, target_x, target_y, frame_center_x, frame_center_y):
        # Calculate error (pixels from center)
        error_x = target_x - frame_center_x
        error_y = target_y - frame_center_y

        # PD control
        d_error_x = error_x - self.prev_error_x
        d_error_y = error_y - self.prev_error_y

        pan_delta = self.kp * error_x + self.kd * d_error_x
        tilt_delta = self.kp * error_y + self.kd * d_error_y

        self.prev_error_x = error_x
        self.prev_error_y = error_y

        return pan_delta, tilt_delta

def main_loop():
    while True:
        # Request frame and send current angles
        serial.write(f"<P:{pan},T:{tilt},L:{laser},F:1>")

        # Read JPEG frame
        frame = read_frame_from_serial()

        # Detect people with YOLOv8
        results = model(frame, classes=[0])  # class 0 = person

        if results:
            target = get_current_target(results)
            pan_delta, tilt_delta = controller.update(
                target.center_x, target.center_y,
                FRAME_WIDTH // 2, FRAME_HEIGHT // 2
            )
            pan += pan_delta
            tilt += tilt_delta

            # Fire laser if locked on
            error = sqrt(error_x**2 + error_y**2)
            laser = 1 if error < THRESHOLD else 0
Resources & References
Reflection
Building the AI Sentry was the most challenging and rewarding project of the semester. The biggest lesson was learning to pivot: my original plan for on-device inference simply wasn't feasible with the ESP32's compute constraints. Switching to laptop-based inference required redesigning the communication protocol but resulted in a much more capable system.
The integration of mechanical design, electronics, and software reinforced how interdependent these disciplines are. A slightly loose servo connection or an incorrectly tuned PD gain could make the difference between smooth tracking and chaotic oscillation.
If I were to continue this project, I'd explore using a more powerful edge device like a Raspberry Pi 5 or Jetson Nano to bring inference back on-device, making the system truly standalone. I'd also add predictive tracking to anticipate target movement rather than purely reactive control.